AI Deep Learning Inspection & Smart Factory

To evaluate the quality of the deep learning model, we perform a variety of testing and validation processes, which are to see how effectively the model performs on a given task and to evaluate whether it has been properly generalized.
Smart Factory & AI Inspection
Measurement
contact lens tester
■Contact Lens Inspection System
■ Model : CLI-100
- • Subject to inspection: Contact lens (dry)
• Inspection Item
– Lens Edge: Tear, Tear, Foreign Body, Scratch
– Optical areas: foreign objects, scratches, bubbles
– Pattern area: Air bubbles, scratches, large printing defects, concentration of printing patterns
– Others: Poor lens molding
• Examining Options
– Lens Power and Diameter
– Lens CT (thickness)
• Inspection period: 1ea = within 4 seconds
• Detection power: 50um or more
• Defect classification: can be classified by item after defining inspection items
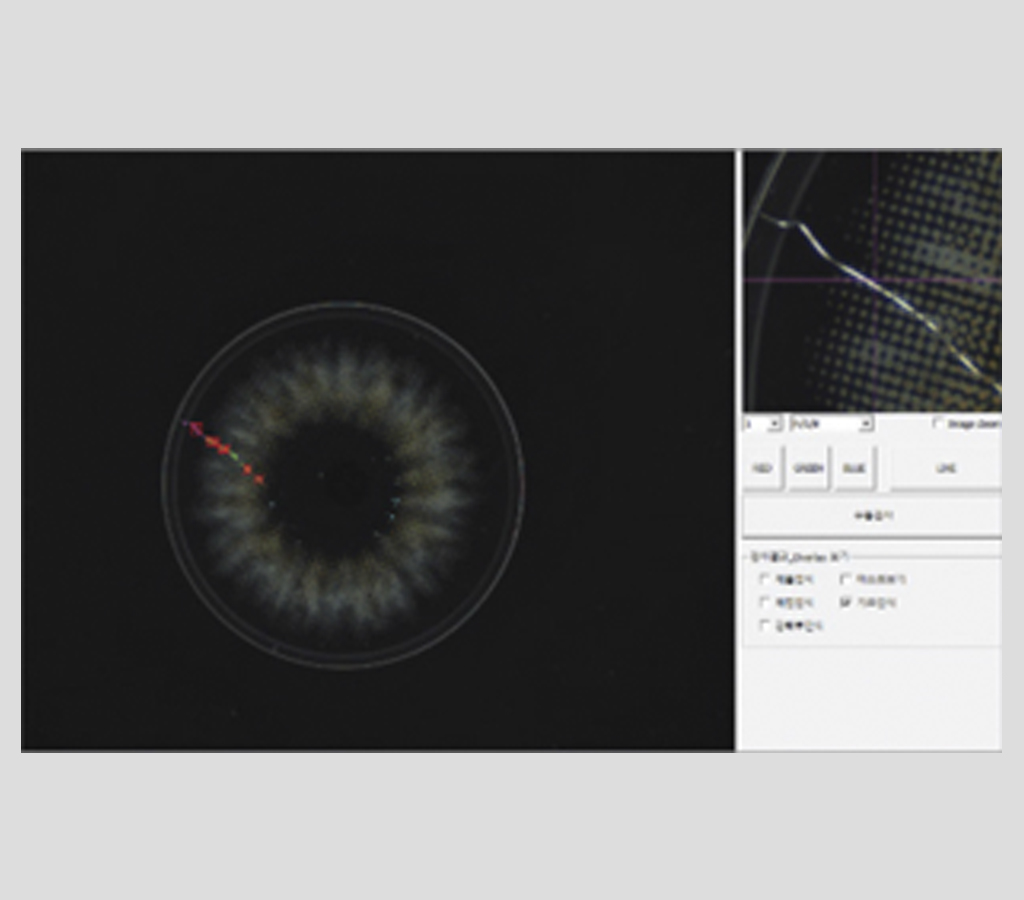
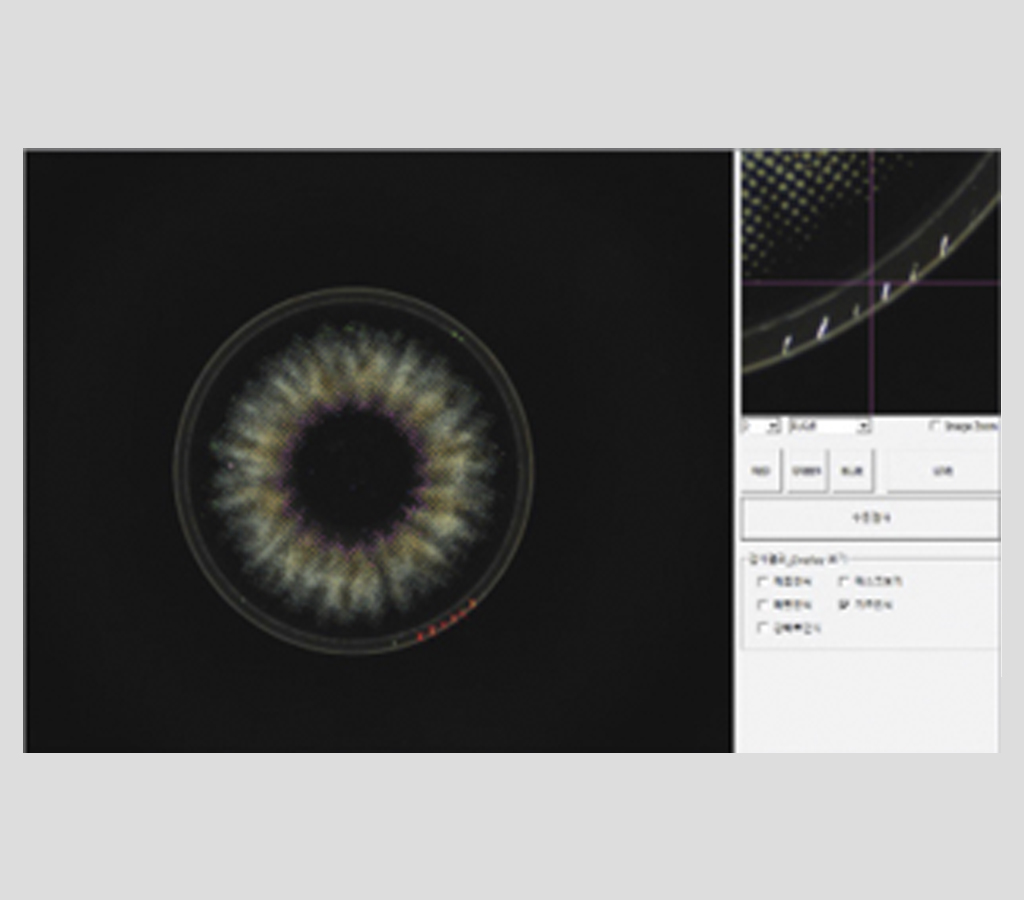
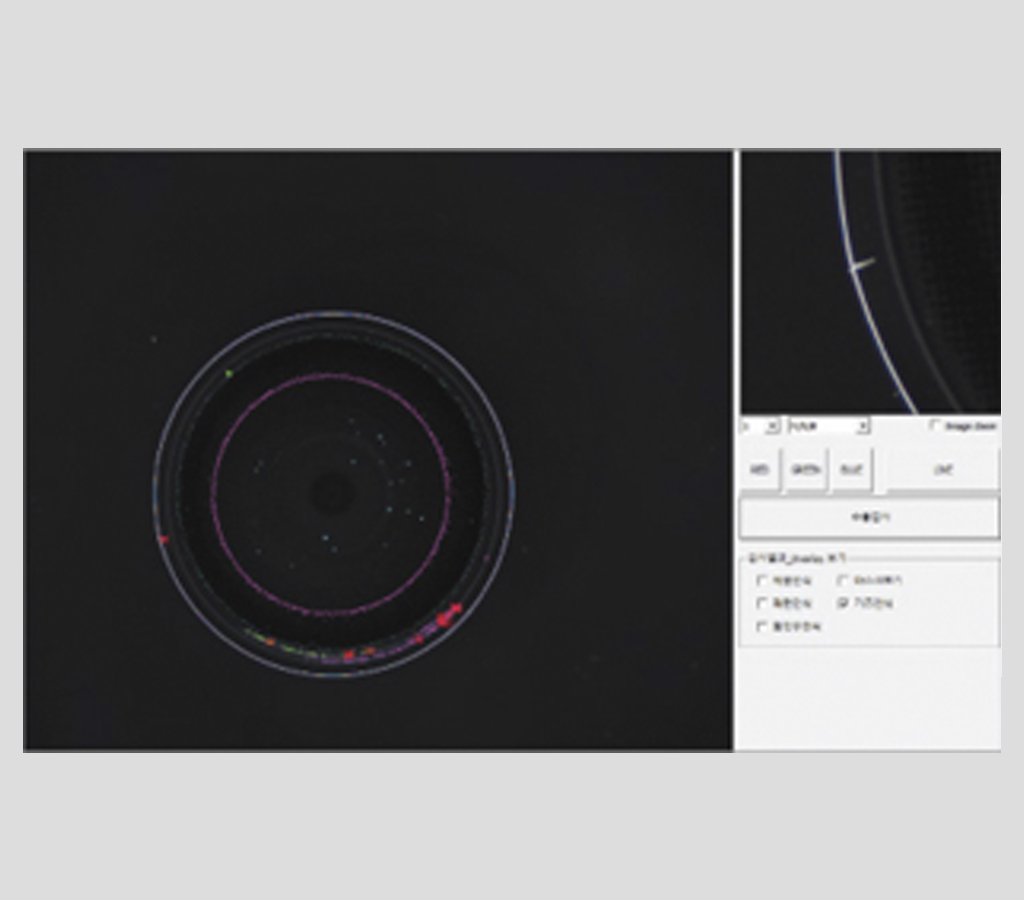

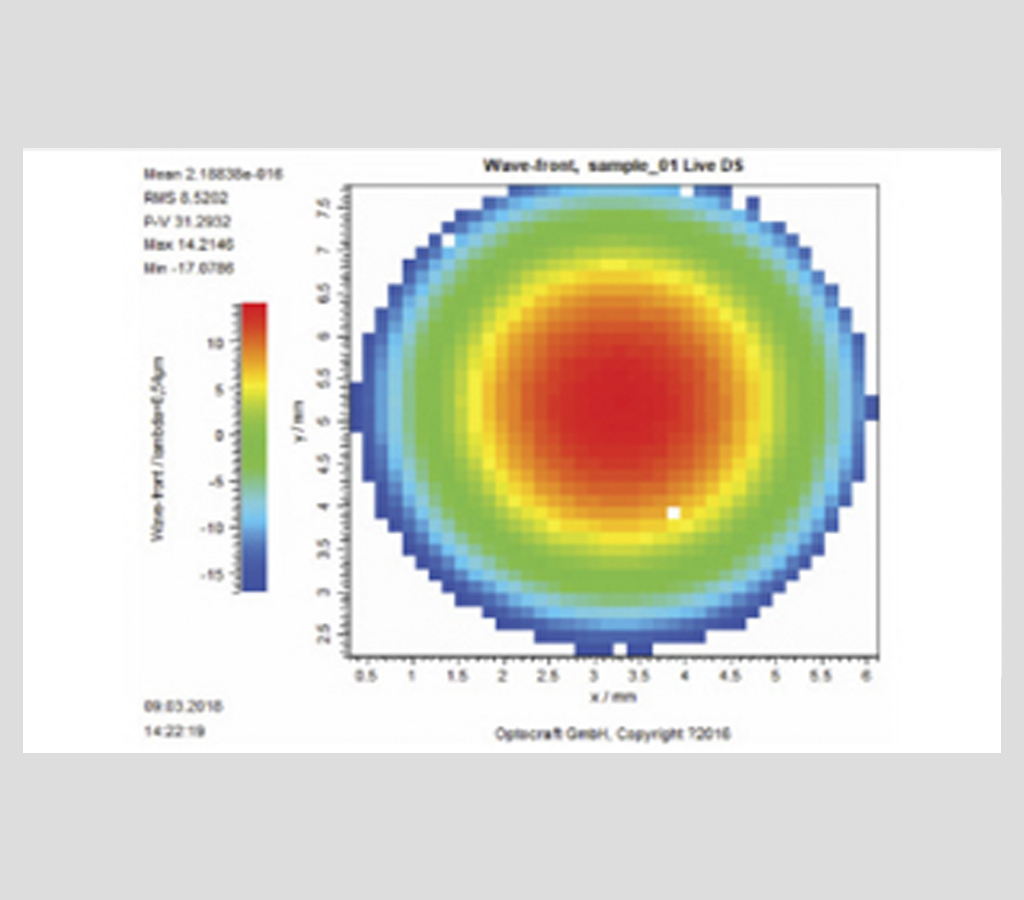
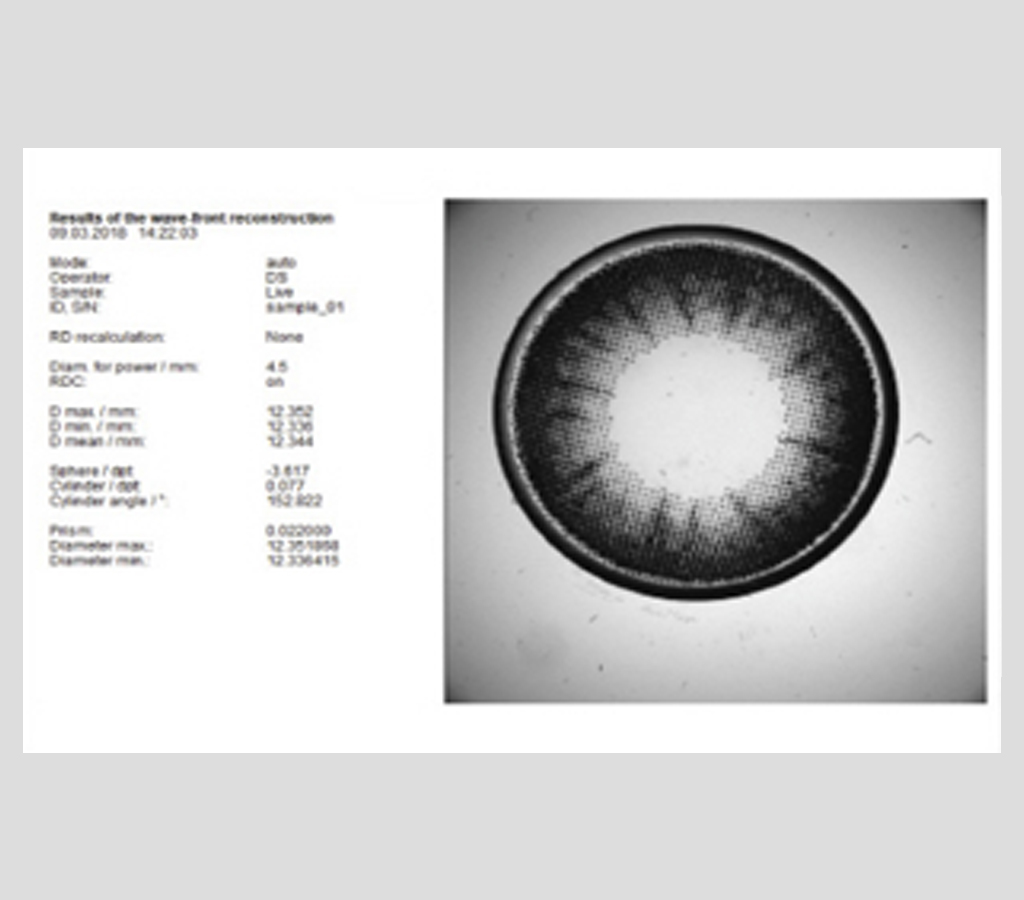
• Error rate graph
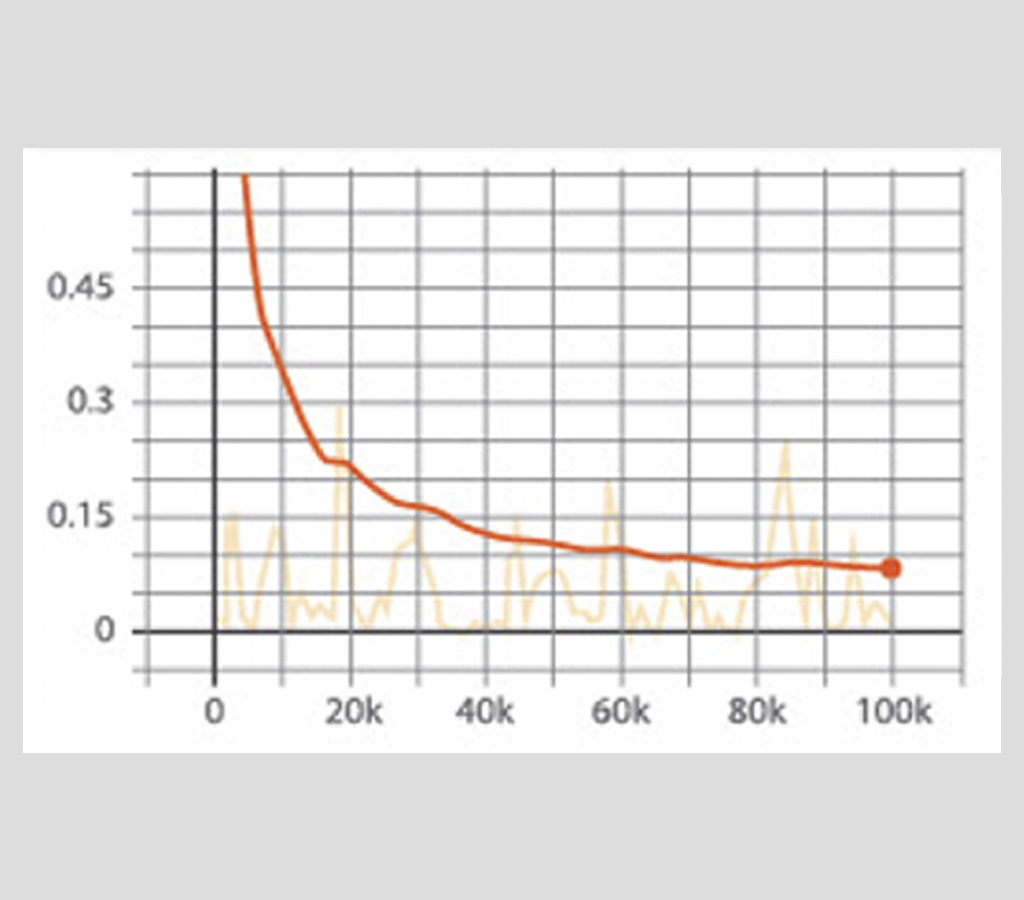
• Verification table
No | Category | Average | Result |
1 | Scratch | 99.97% | detectable |
2 | Broken | 99.95% | detectable |
3 | extraneous material (Point) | 99.96% | detectable |
4 | extraneous material (thread) | 99.93% | detectable |
5 | curve Print | 99.97% | detectable |
6 | 99.98% | detectable | |
7 | void | 99.96% | detectable |
8 | Backlight | 99.97% | detectable |
Measurement
Appearance inspection machine for building materials
■ Appearance inspection machine for building materials
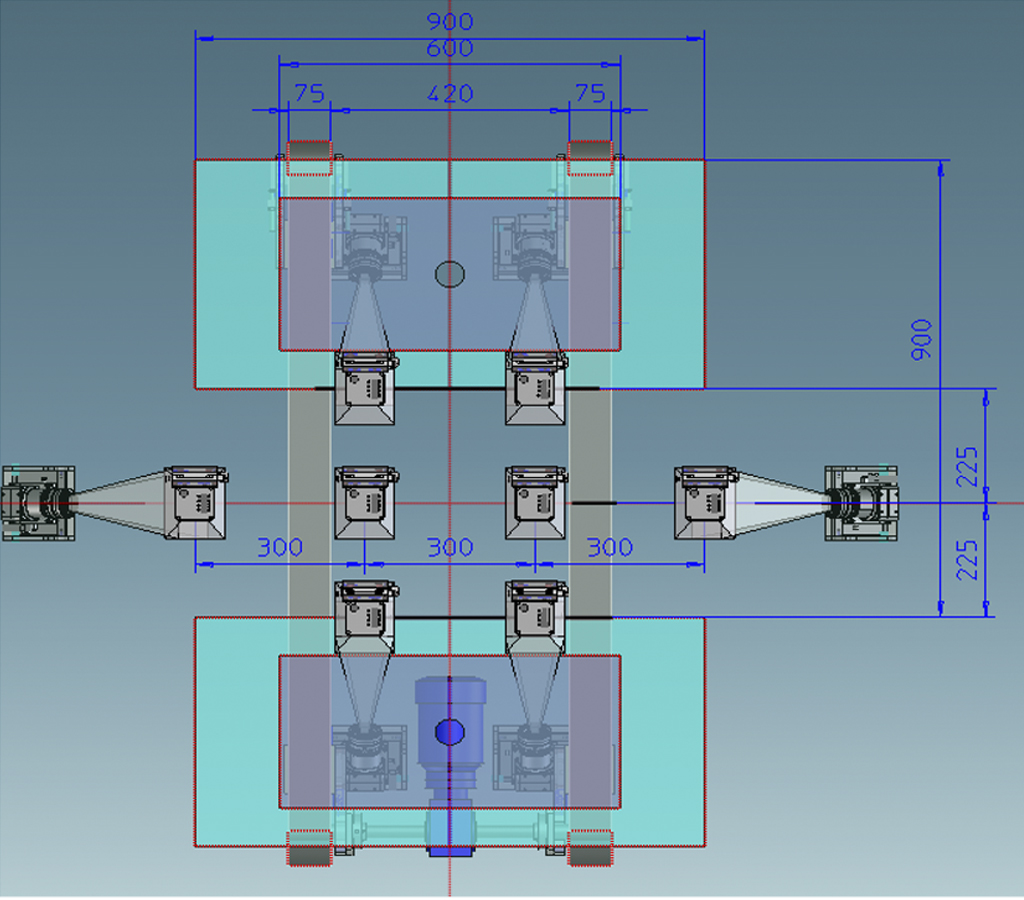
summary
• Purpose – Appearance inspection of finished gypsum products being transported on the conveyor belt.
• Inspection details
Appearance inspection all together (pattern size, pattern pushing, defrosting, foreign matter, stain, damage, etc.)
Result processing: Automatic defect classification (loaded), alarm in case of continuous failure
• Configuration
Industrial optical system, inspection PC, and conveyor set for defect classification
• Optical System Configuration
Depending on the inspection point and product size
FOV 350*300mm standard: More than 0.4mm can be detected
• Organization System Configuration
4-section composition = Inspection unit + Transfer unit + Selection unit + Transfer unit
Sorting unit: Screening inverter + defective transfer unit + loading inverter + loading unit
• System Features
You can inspect Flying Mode without stopping.
High-resolution, high-speed inspection is possible.
Real-time quality control is possible.
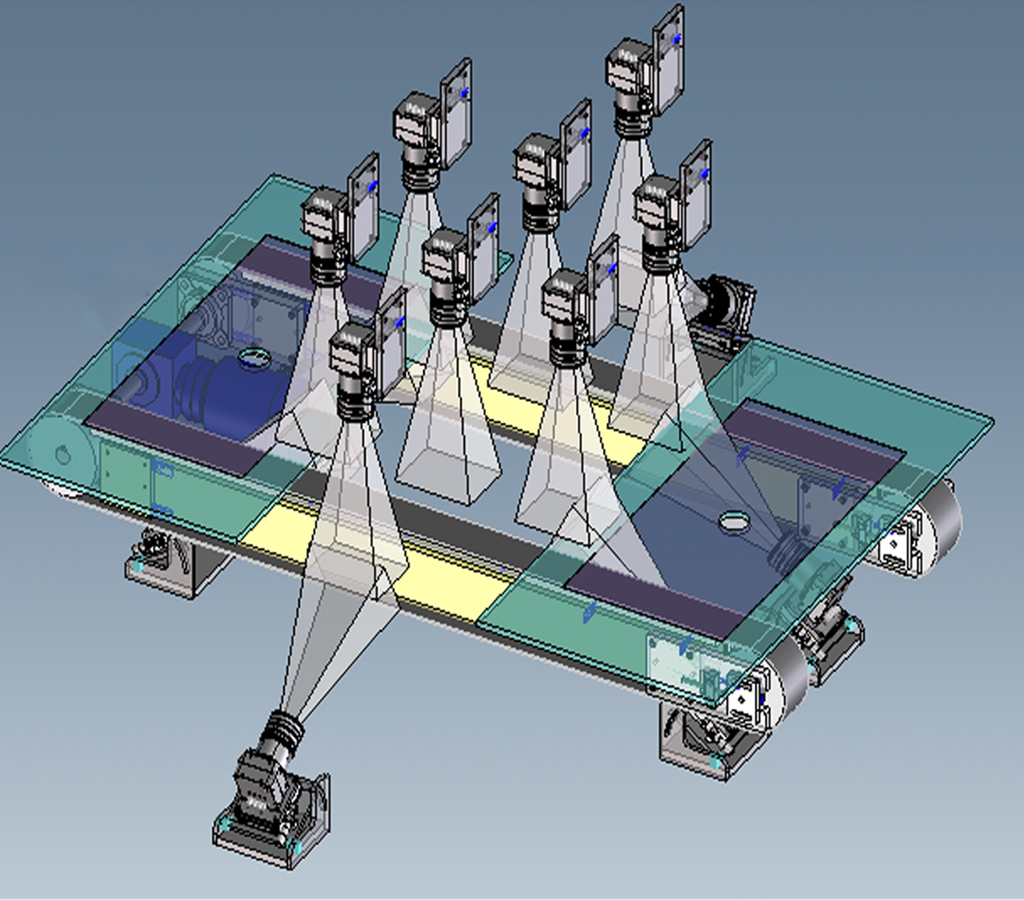
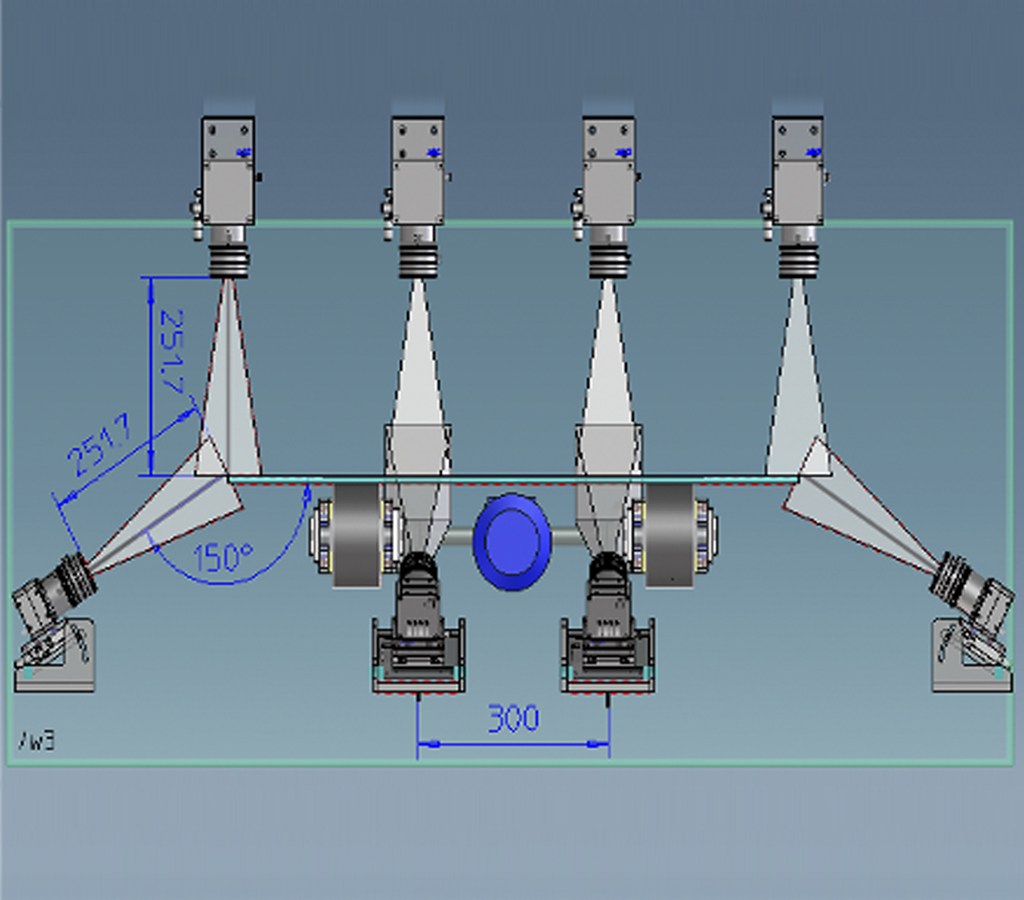
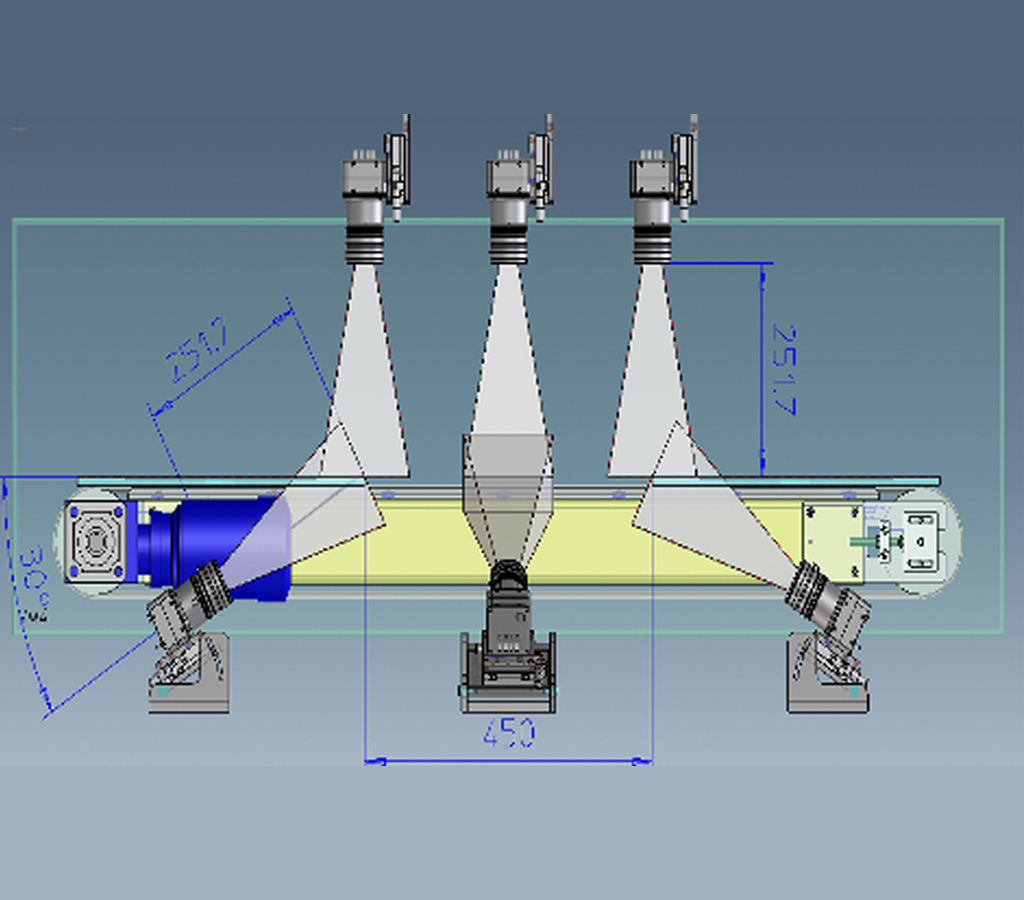
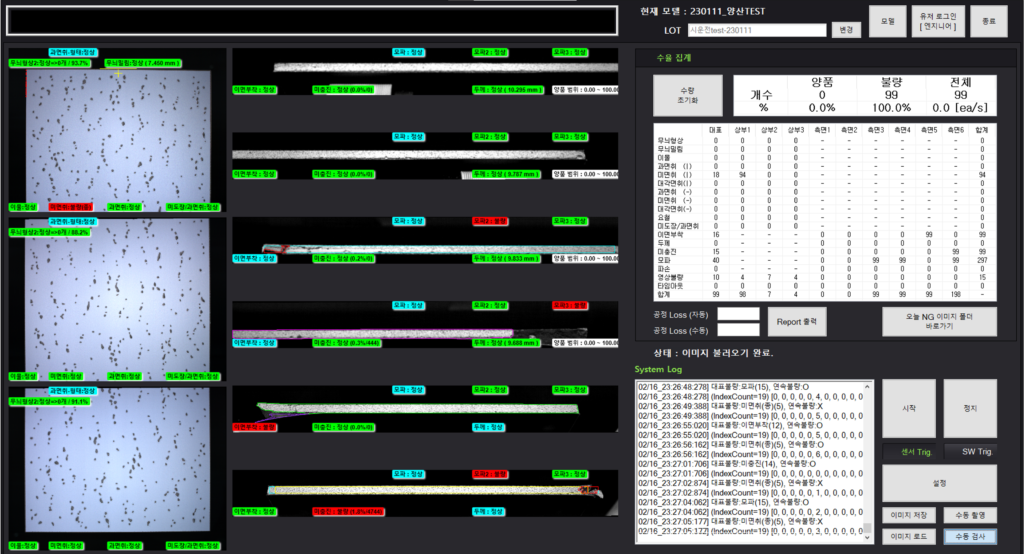
Measurement
Injection, mold appearance inspection machine
■ Injection, mold appearance inspection machine
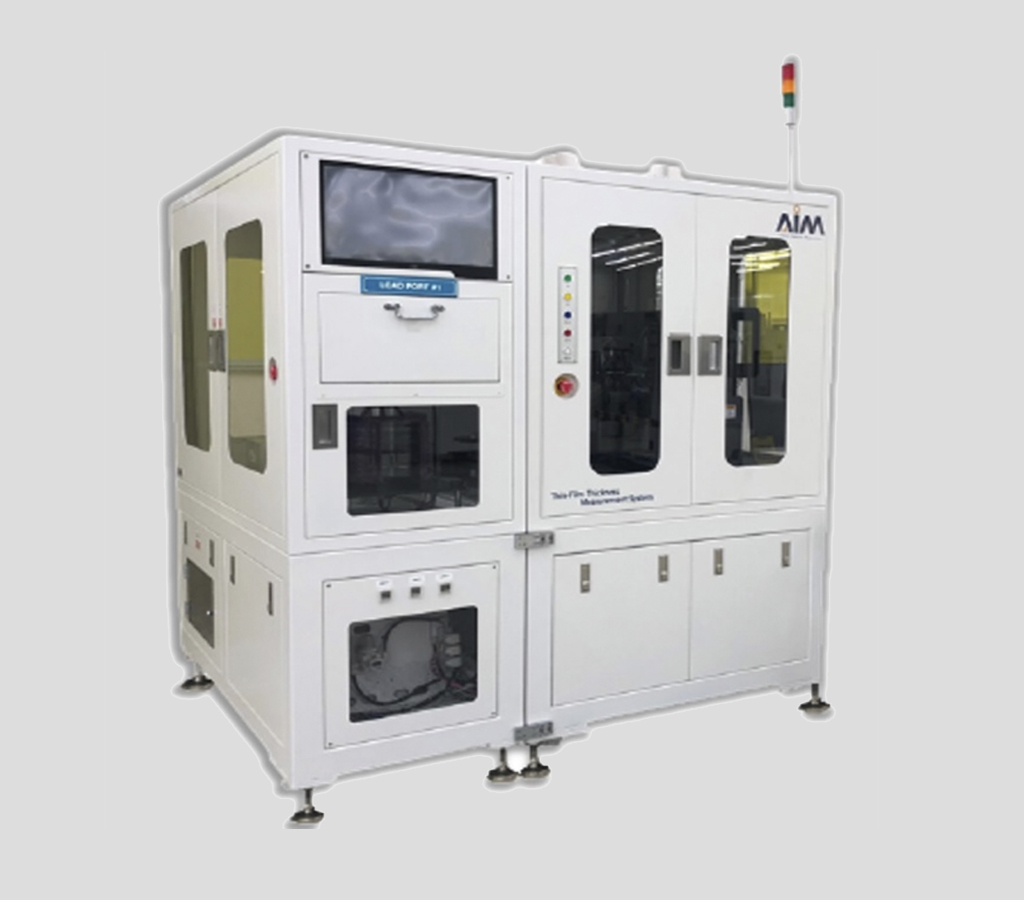
■ Characteristics
1. Application:
- Automotive injection products, medical injection products, food injection products, etc..

2. Inspection items
- OCR: Separation of similar characters between numbers and English
- Shape (=molding) defective
- Geez, scratch
- Breaking
- Black spots, foreign objects, etc 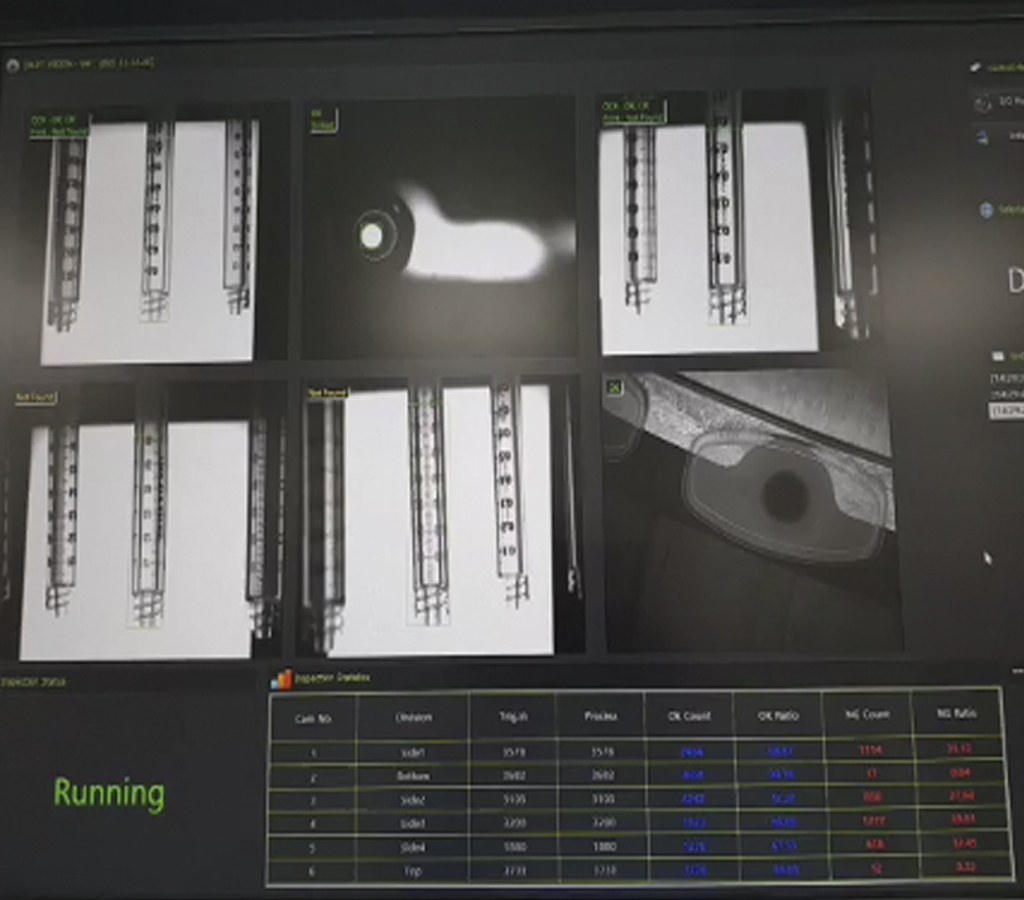
(a medical syringe)
(Food container)
Measurement
a natural leather checker
■a natural leather checker
■ summary
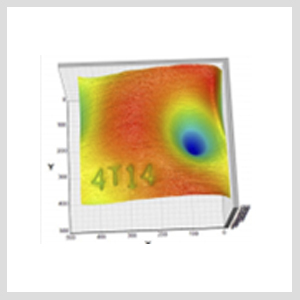
“Surface Prpperty Image”
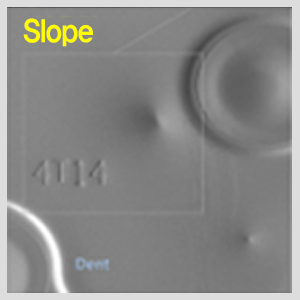
– New Technology: Measurement of surface top frame information
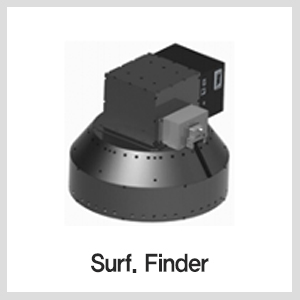
1. Features of the sensor
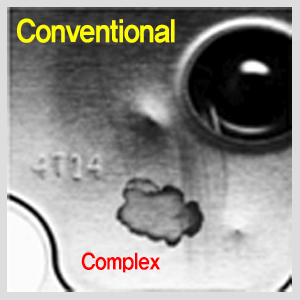
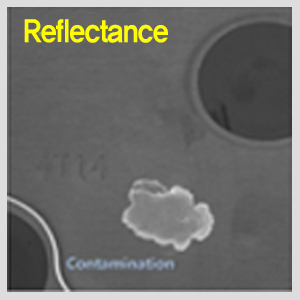
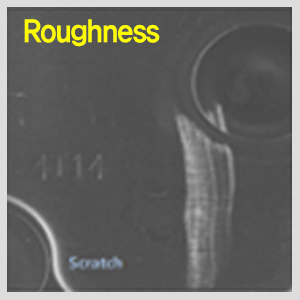
2. How to acquire data
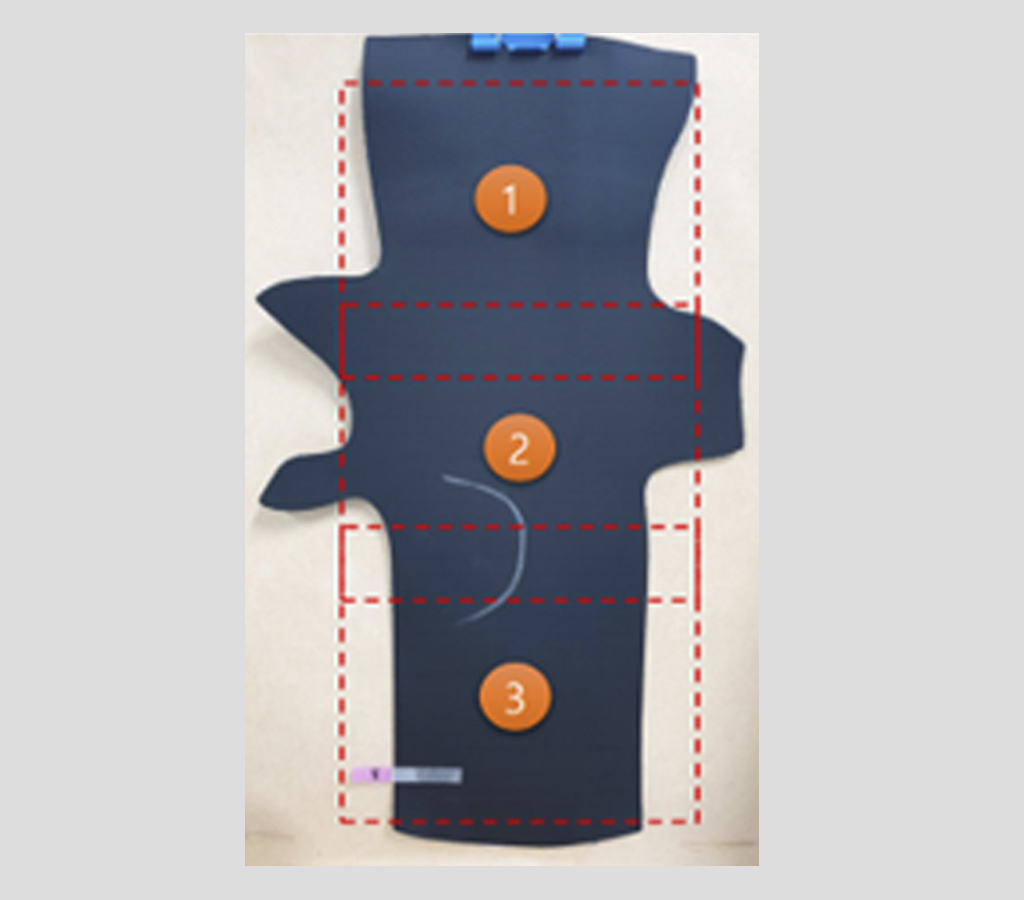
1. A total of 27 resulting images taken from one sample 3 split
2. Seven images were stored in each folder (x1, X2, x3) in the inspection area of each split
3. Results Data
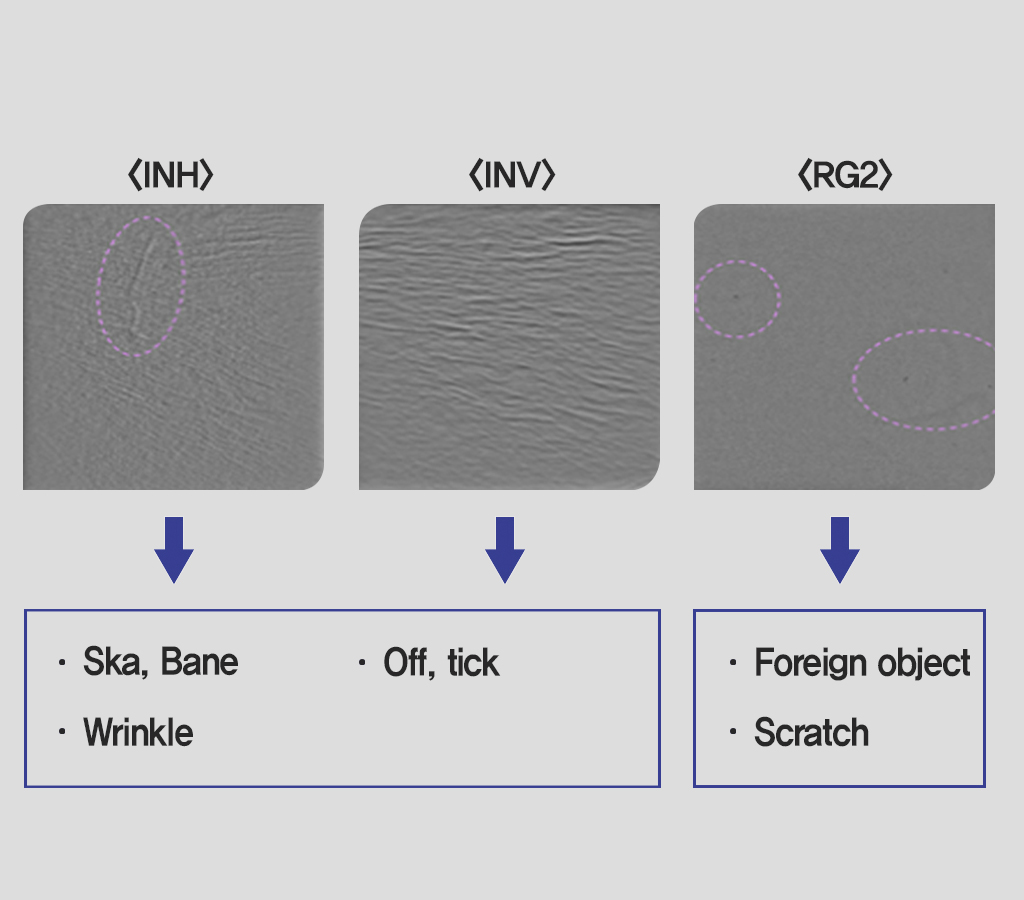
1) REF: Reflectance data
2)_INH, INV: Slope horizontal/vertical data
3)_IN2: Absolute value data for gradient horizontal & vertical
4)_RGH, _RGV: data in the horizontal/vertical direction of the lugger
5)_RG2: Absolute value data for horizontal and vertical dimensions
3. How to acquire data
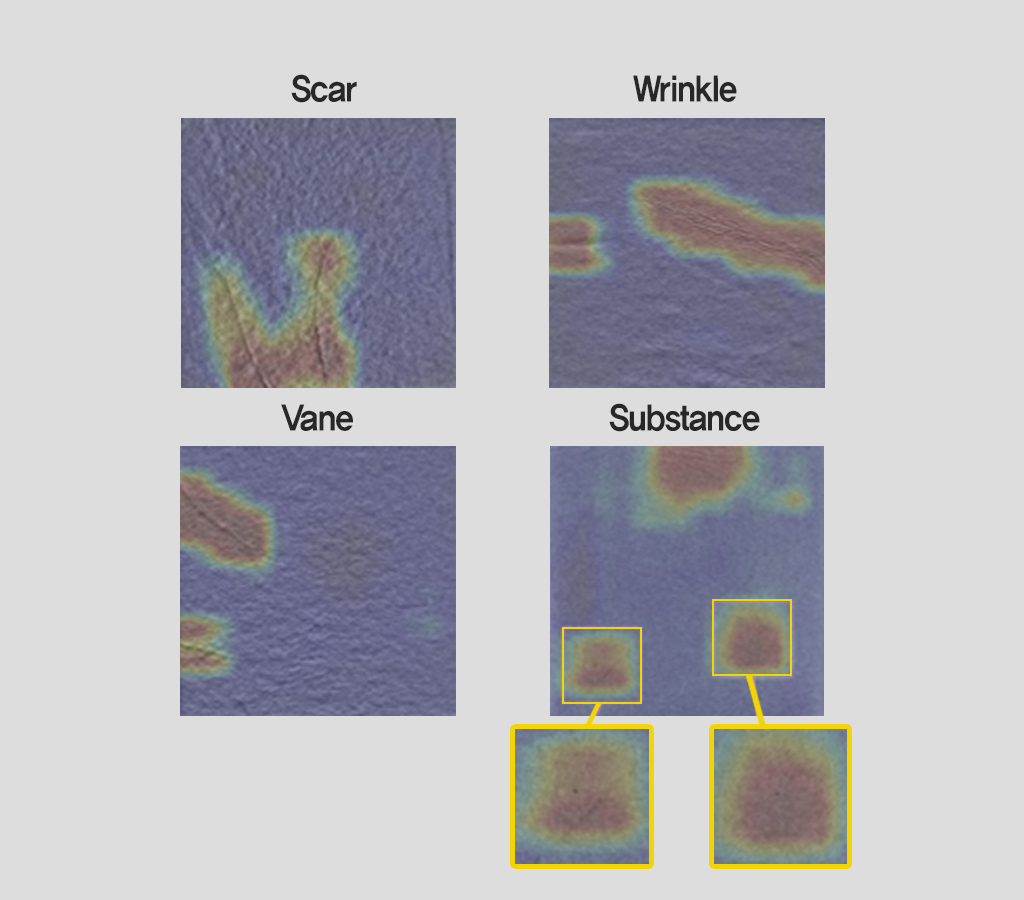
4. AI Learning Results
No | Configuration | Specification |
1 | Applied Products | pre-consulted natural leather cuttings |
2 | Size | Min: 180mm / Max: 432mm |
3 | Thickness | 1.3T + 0.1T |
4 | elongation rate | Product that doesn't matter if you expand by 7% |
5 | a foreign body | a product without foreign substances attached |
6 | Concept | 4Line/1System equipment: 2x2 Set configuration for improved accessibility and workability |
7 | FFU | None. |
8 | Foreign substance | Manual management. |
9 | How to put the product in | Manual input to Load Magazine |
10 | Product Collection Method | Product Collection Method |
11 | How to Transfer Products | Motor transfer and pick-up using Cyinder Direct contact with Vacuum Pad (adsorption pad) |
12 | Change the model | Manually changing the interval between Load/Unload adsorption pads Automatic change by recipe change (apply axis only with Motor) |
13 | How to stretch a product | 5% elongation to the long axis, 2% elongation to the vertical axis The vertical extension is in the shape of a semicircle |
Measurement
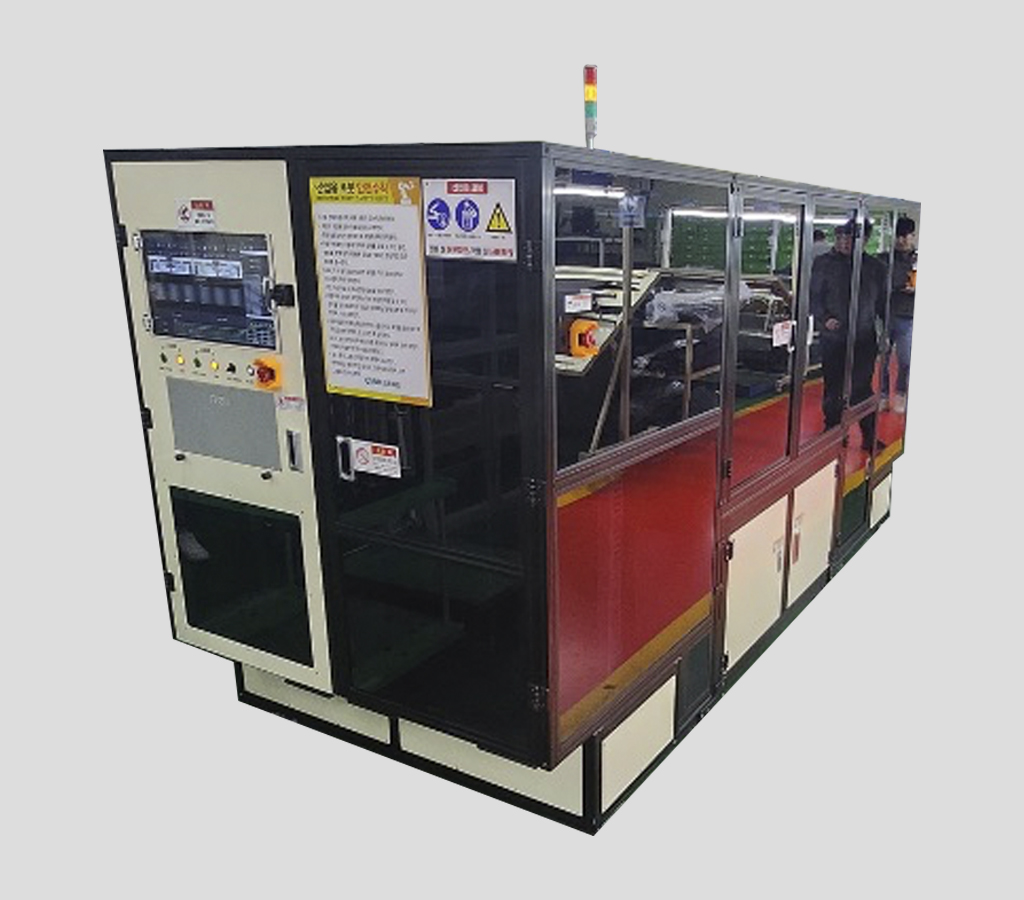
Inspection of automotive electronic parts
■ PCB Inspection & Measuring System For UV Conformal Coating
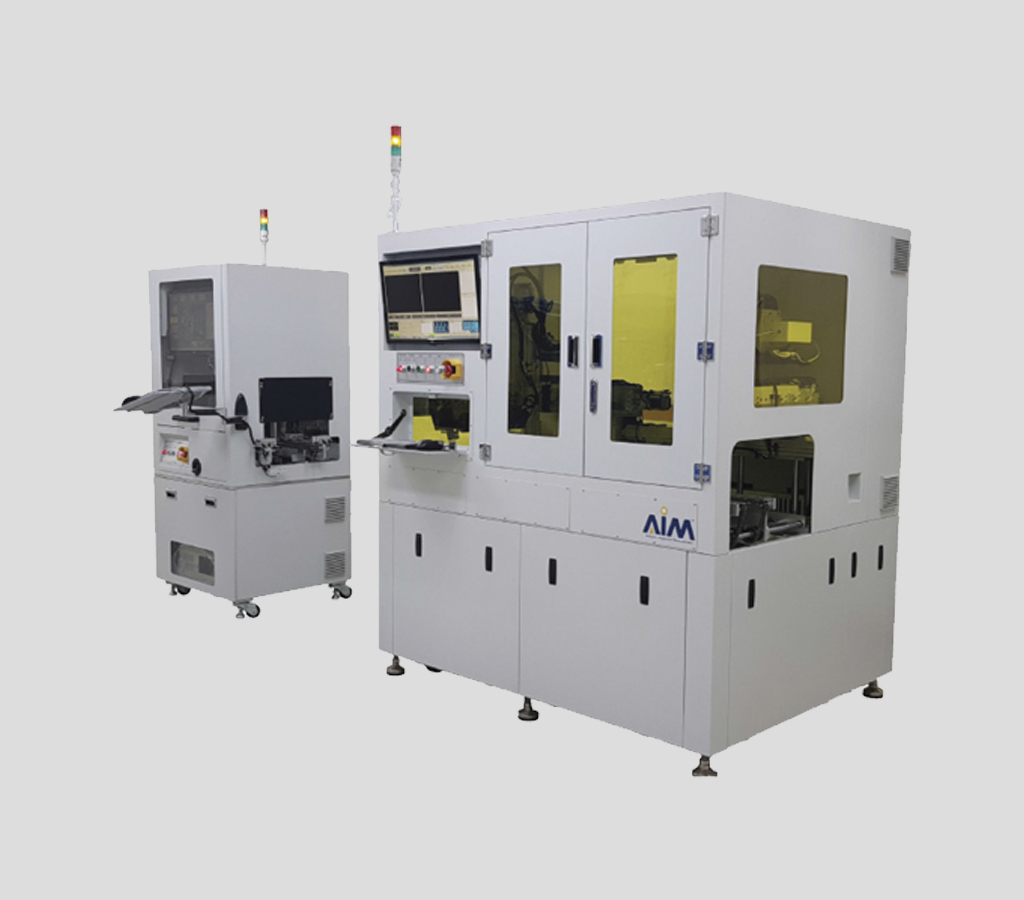
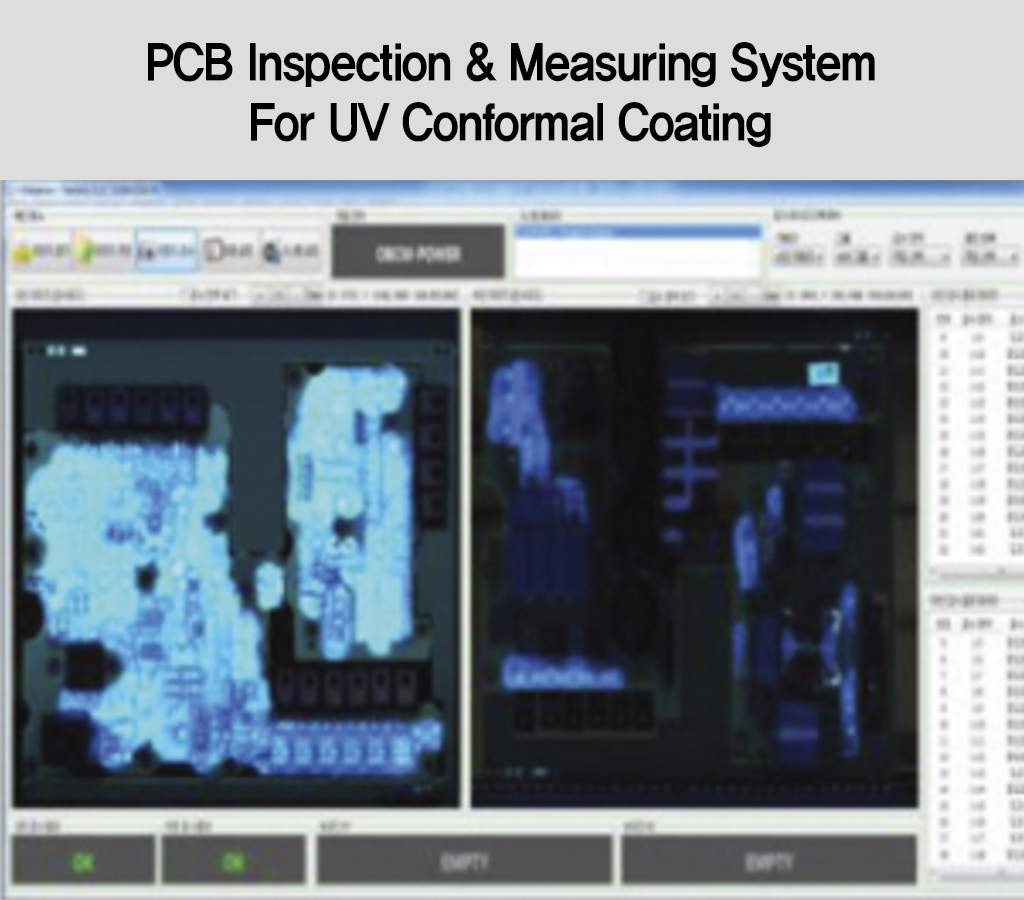
■ Model : AUI-350
• Subject to inspection: Automotive electronic components, electronic PCB
• Inspection Item
– Inspection of electric vehicle electrical PCB UV Coating Application Area / Non-coated Area
– Electric Vehicle Full-length PCB UV Coating Application Area / Thickness Measurement
Double-sided simultaneous examination
Option : Magazine Buffer
• Inspection period: 1 ea = 30/S
Detection power: UV coating test 100um or more
UV Coating Thickness 20um-500um
• Defect classification: can be classified by item after defining inspection items
– Simultaneous Double-Sided Inspection
■ PCB Inspection & Measuring System For UV Conformal Coating
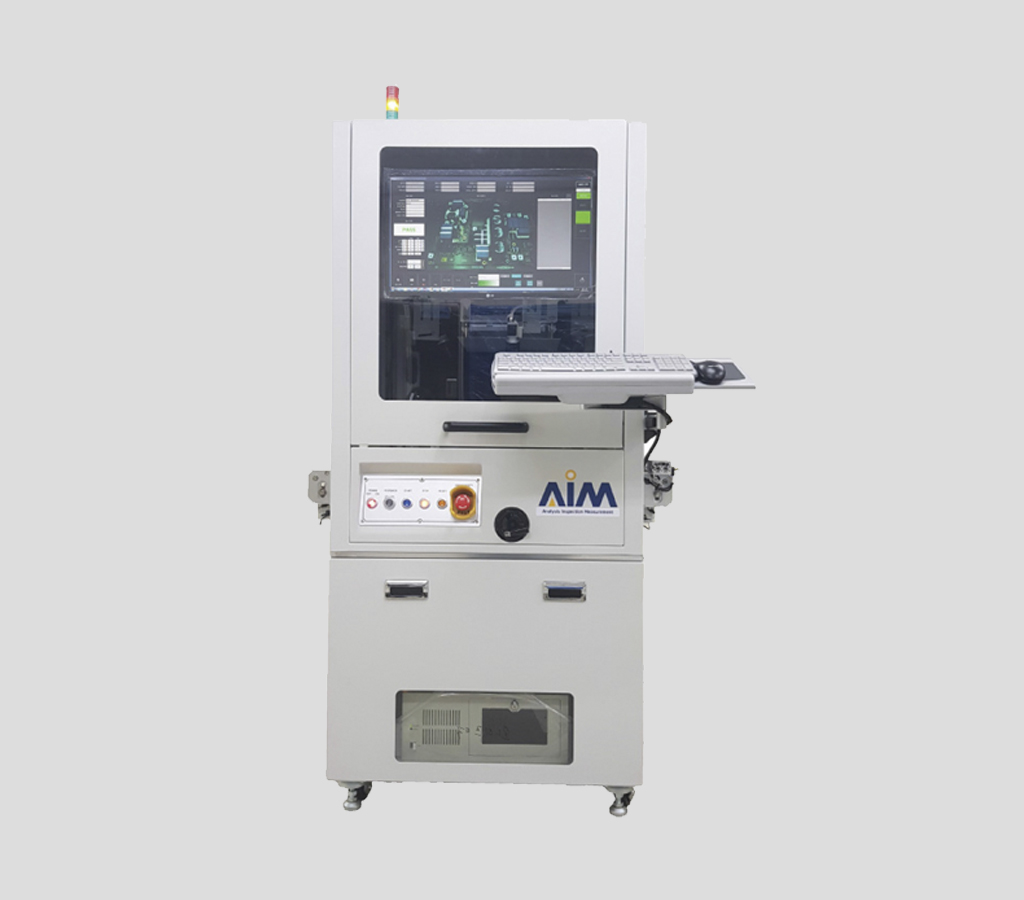
■ Model : ASI-350
• Inspection target: Automotive electronic components, ceiling PCB
• Inspection Item
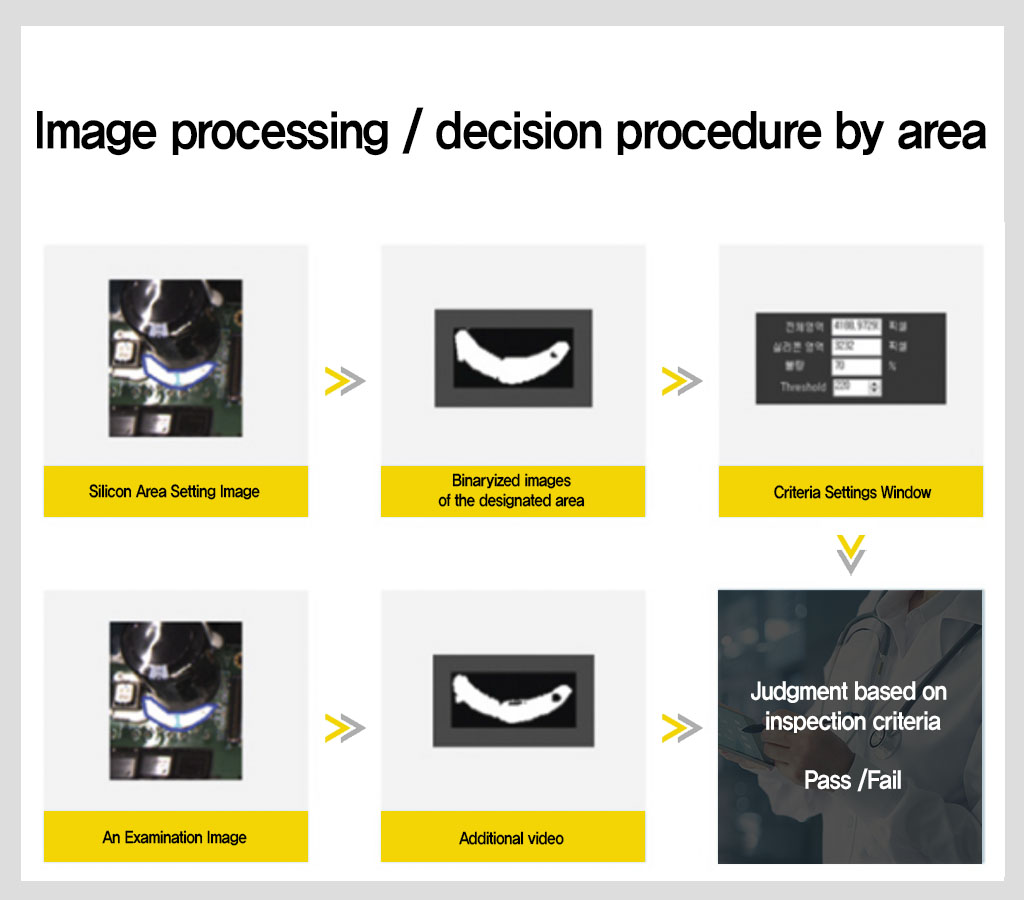
– Inspection of electric vehicle electrical PCB Silicone Coating Application Area / Non-coated Area
– Report the MES after determining the amount of money
• Option: silicone application thickness measurement, weight measurement after application
• Inspection period: 1ea = 10/
• Detection power: Silicone application 100um or more
• Defective classification: After defining inspection items, classification can be made by item
