Display

Display Measurement and Inspection Equipment
Measurement
Large Area Thin Film Thickness Measurement Equipment
Total Measurement Equipment System For thin-film solar cells, OLEDs, LCDs, coated glass
■ SPECIFICATIONS
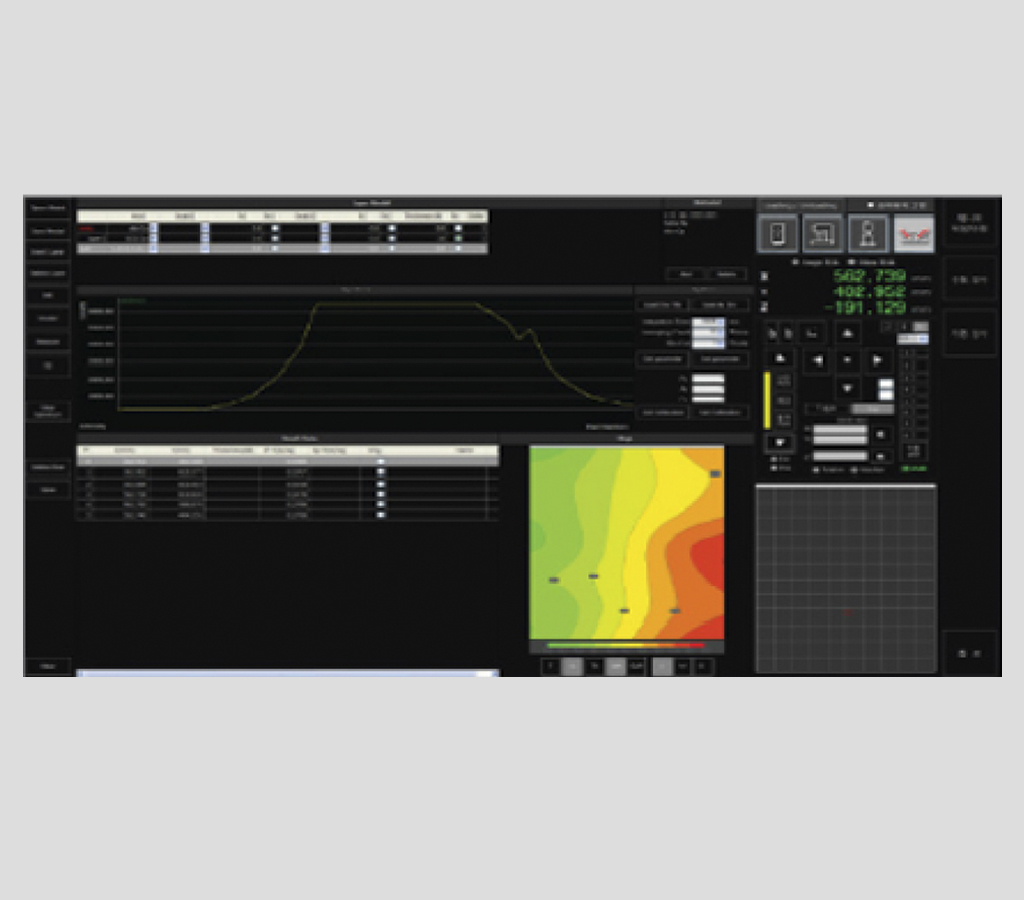
SE+SR Auto scanning module
- SE+SR Auto scanning module
- Spectral Range : 350-1000
- Acquisition speed : < 1 -5 sec/point
- Metrology Performance
– Film thickness
– Refractive index (n) and extinction coefficient (k)
– Uniformit

• Magnification : 108X – 17 f280x
• Light Source : 405nm Laser
• Repeatability : Xr Y : 0.12um / Z : 10nm
• Step height measurement (3D)
• Roughness measurement
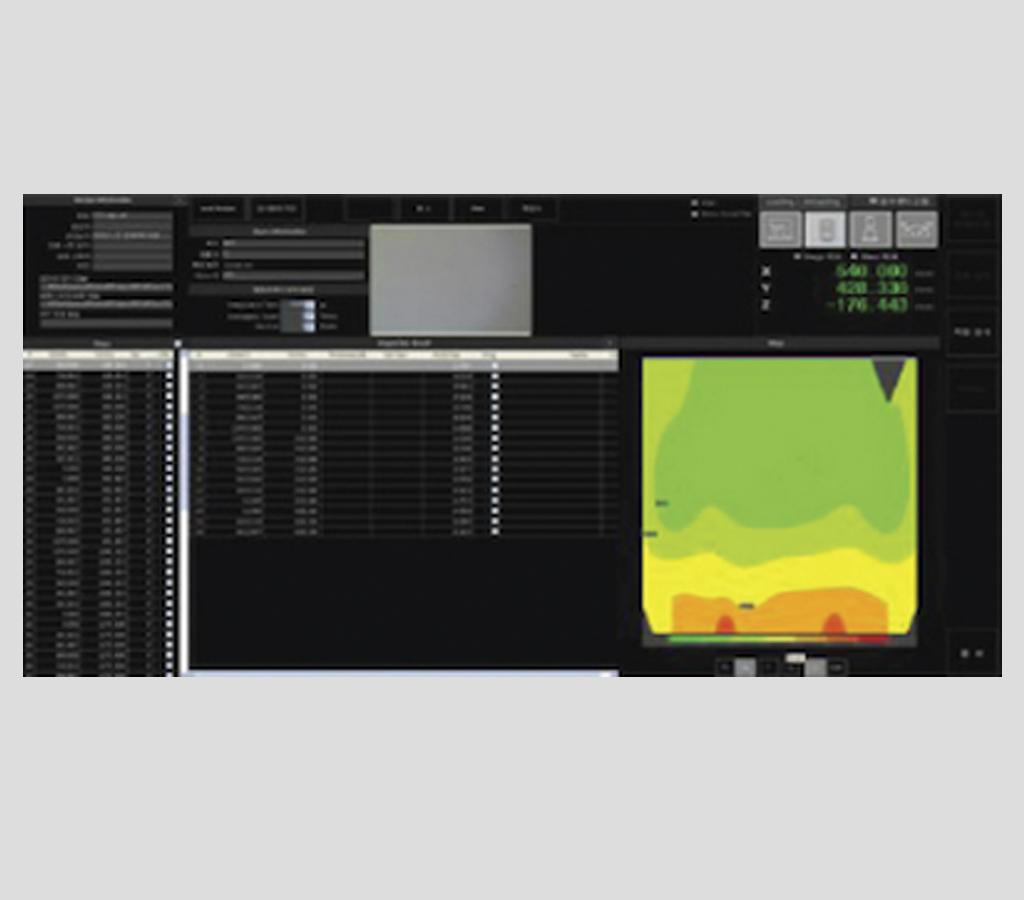
Sheet Resistance Meter
• Sheet Resistance meter
• Auto & Manual Mode
• Report (Excel)
• Repeatability : ‡ 0.3% of reading
• Uniformity
VIS/NIR Spectrophotometer
• W.L. range: 350nm-1100nm (option :900nm – 1600 nm)
• W.L. Resolution: 5 nm
• Transmission & Reflection
Measurement
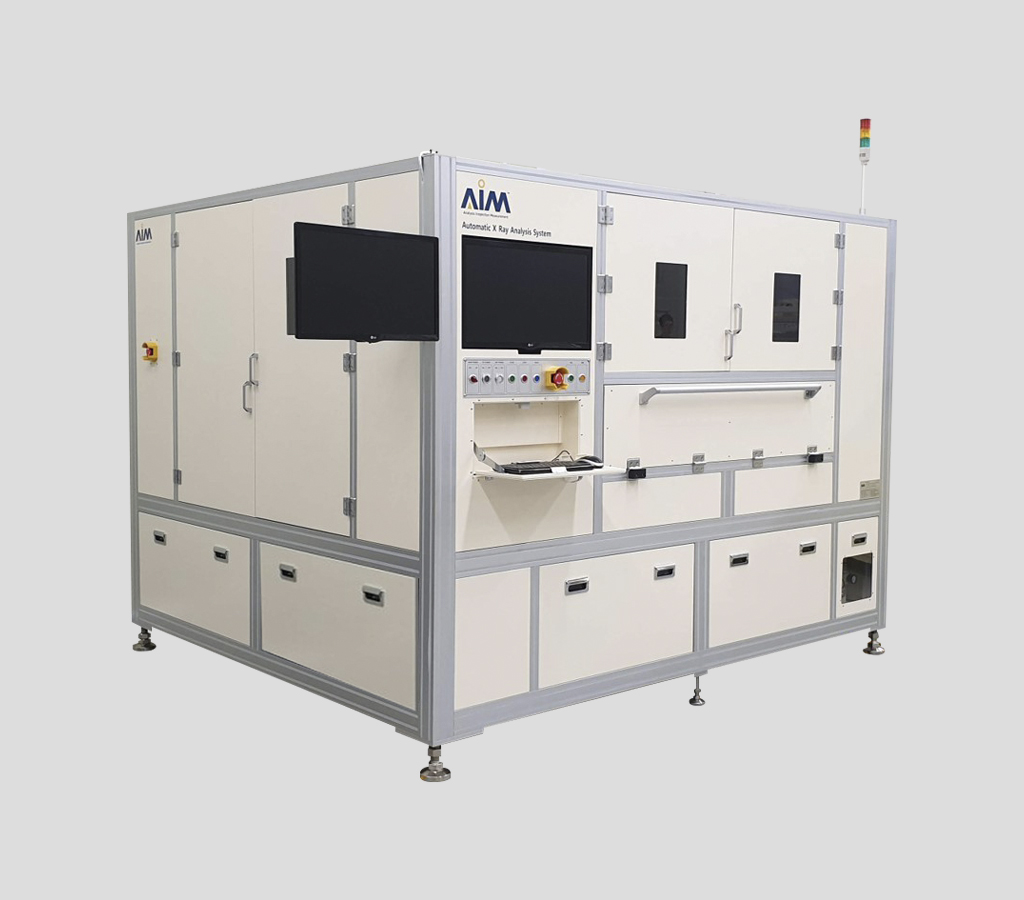
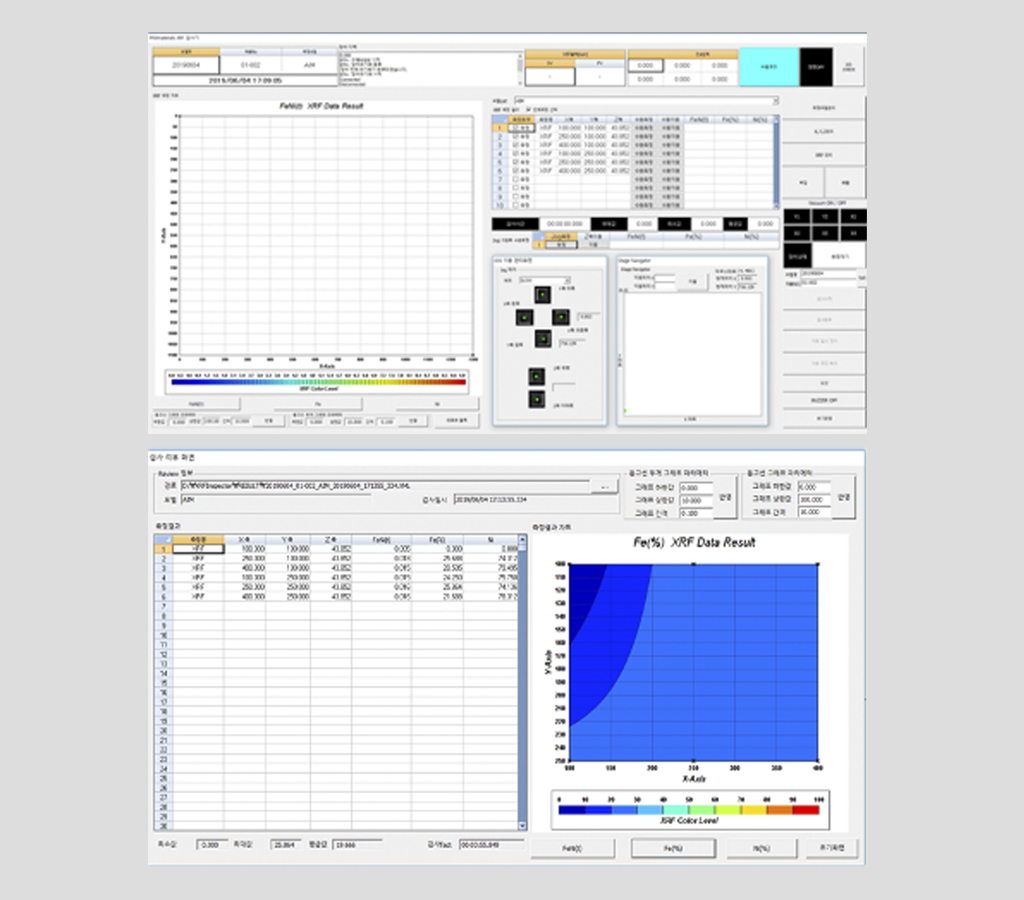
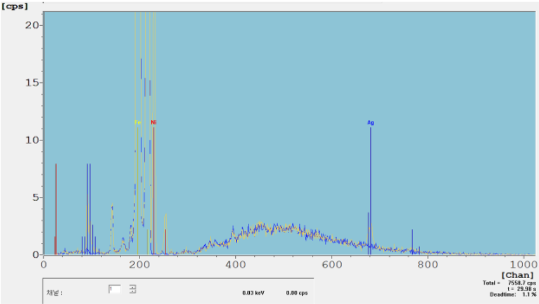
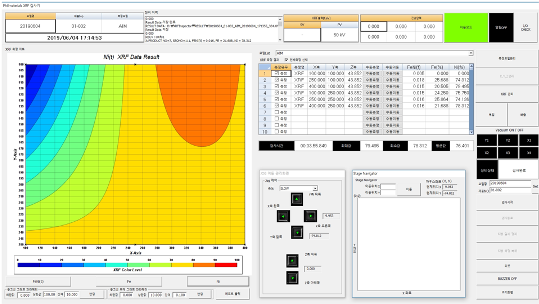
Display-Large Area XRF
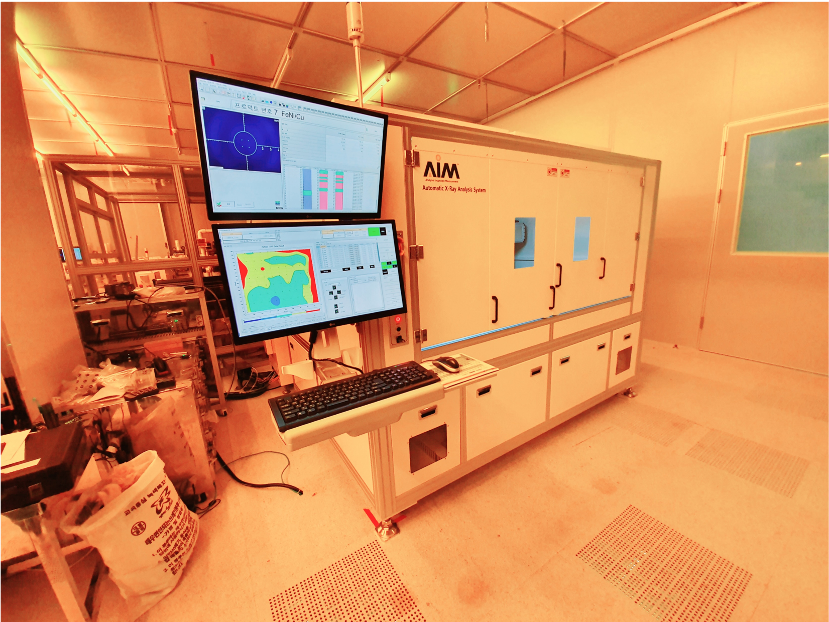
CONFIGURATION | SPECIFICATION | |
1 | Measurement target | * Content of Fe, Ni, etc. (composition ratio) * Thickness of INVAR foil, etc |
2 | Intended use | Energy dispersive X-ray measuring instrument (EDXRF) to determine thin |
3 | Element range | Aluminum (13) to Uranium U (92) - up to 24 ements simultaneously |
4 | X-ray tube | Micro focus tube with tungsten target and beryllium window |
5 | High voltage | Three steps: 10 KV, 30 KV, 50 kV |
6 | X-ray detector | Silicon Drift Detector (SDD), |
7 | Method | X-axis measurable distance: 1,650 mm Y-axis measurable distance: 750 mm Z-axis measurement unit movement: 100 mm |
8 | drive mechanism | DRIVING BY SYSTEM SERVOMOTOR control:full-closed control |
9 | Degree | Reproducibility of XY electric coordinates... Full area / ±500 um or less |
10 | Moving speed | Up to 500mm/sec |
11 | Operate | Moving the PC Control Program |
12 | Loading/Unloading | Loading/unloading the operator's manual After loading, stage seating, burfix adsorption |
Measurement
Display-Invar Inspectors
■Invar Film Auto Optical Inspection System
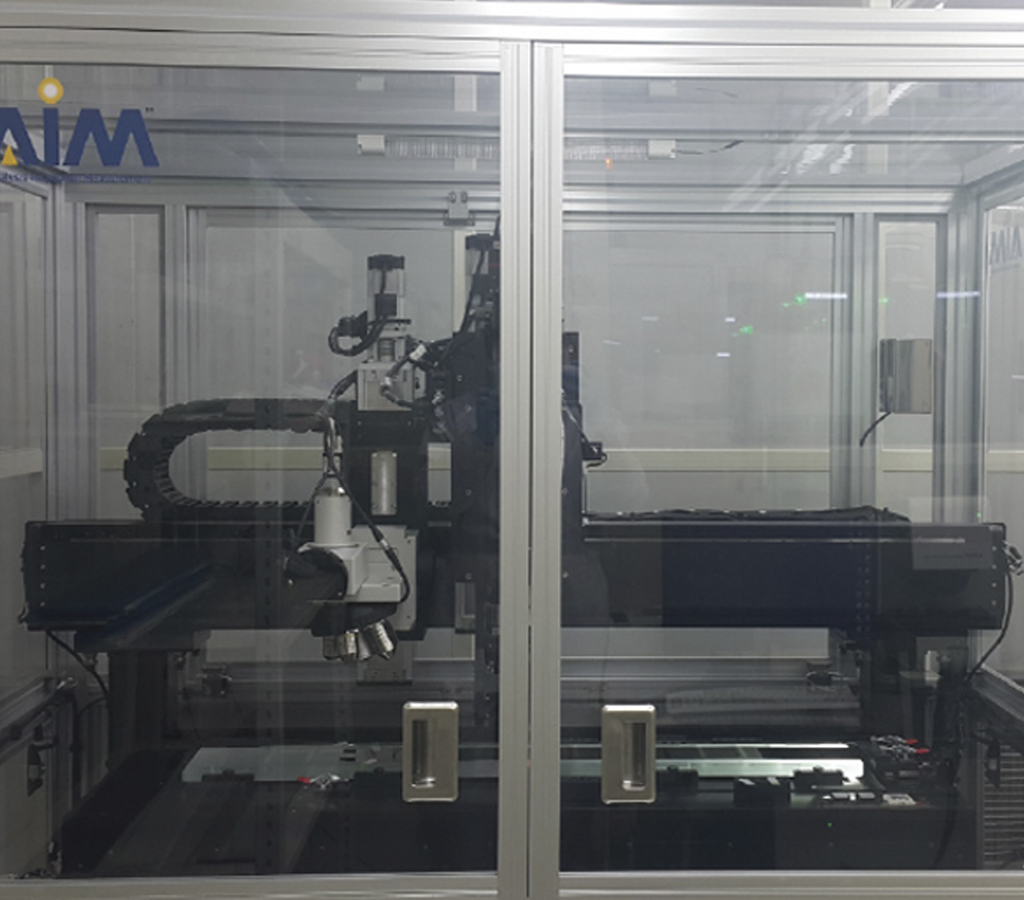
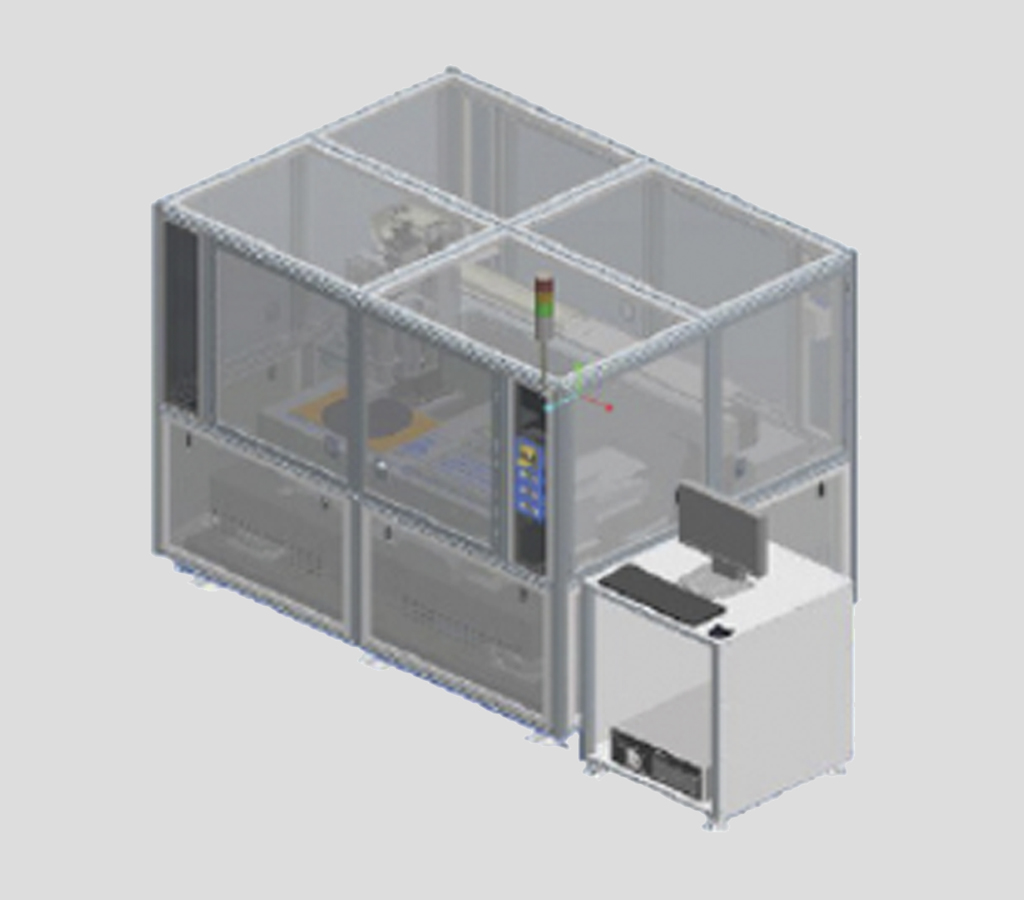
■Model : ASI-350
• Inspection target: Invar Film
• Inspection Item – AOI : Appearance inspection and review of scratch foreign matter, pattern, etc
– Microscope: Review and Pattern Size Measurements
• Inspection method: Full auto system
• Inspection speed: 30 mm/s
• Exploration of Line Scan Auto Focus function
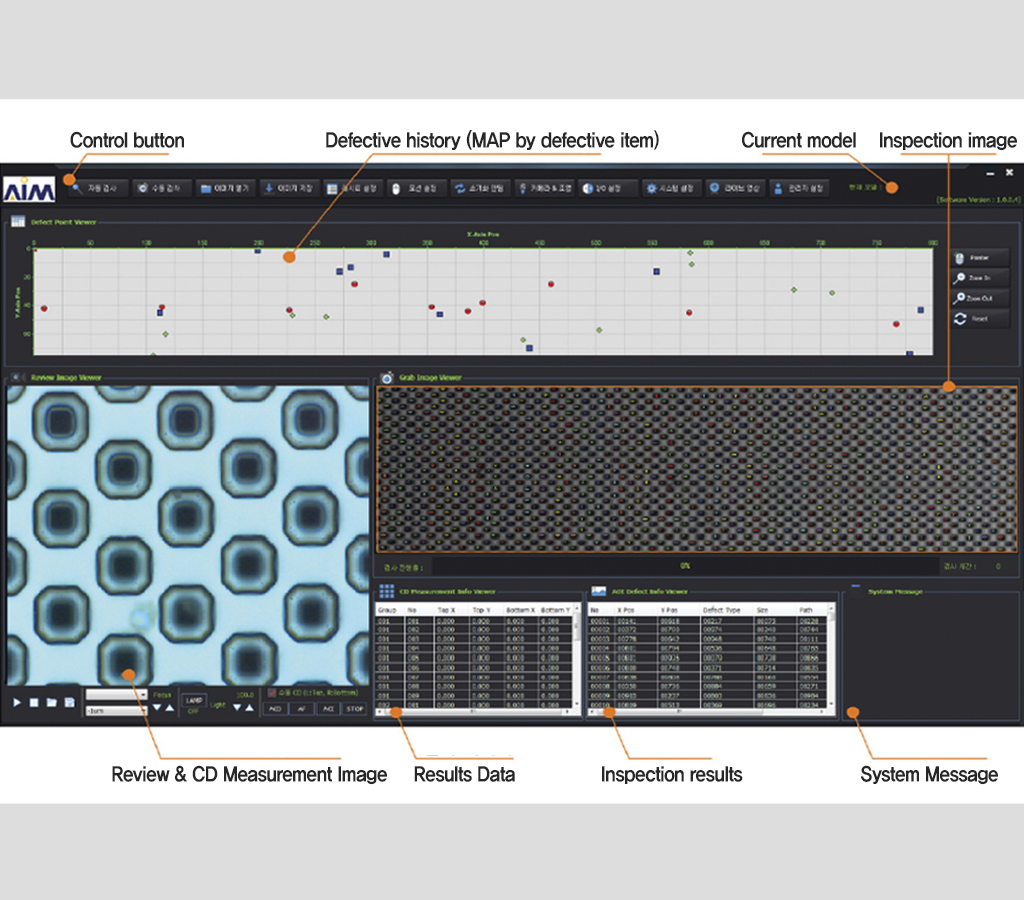
■Invar Inspectors Video
– (Fe+ NI) Automatic inspection after scanning with Film Line Scan Camera (AOI)
– Map display by defect item (quickly check which areas are defective)
– Verifying defective location X.Y coordinates
– Go to the XY coordinates obtained with the AOI camera and check the presence or absence of defects at high magnification
– AF of pattern (CD) size to measure upper and lower high magnification CD
Measurement
Display-Film Inspection Machine
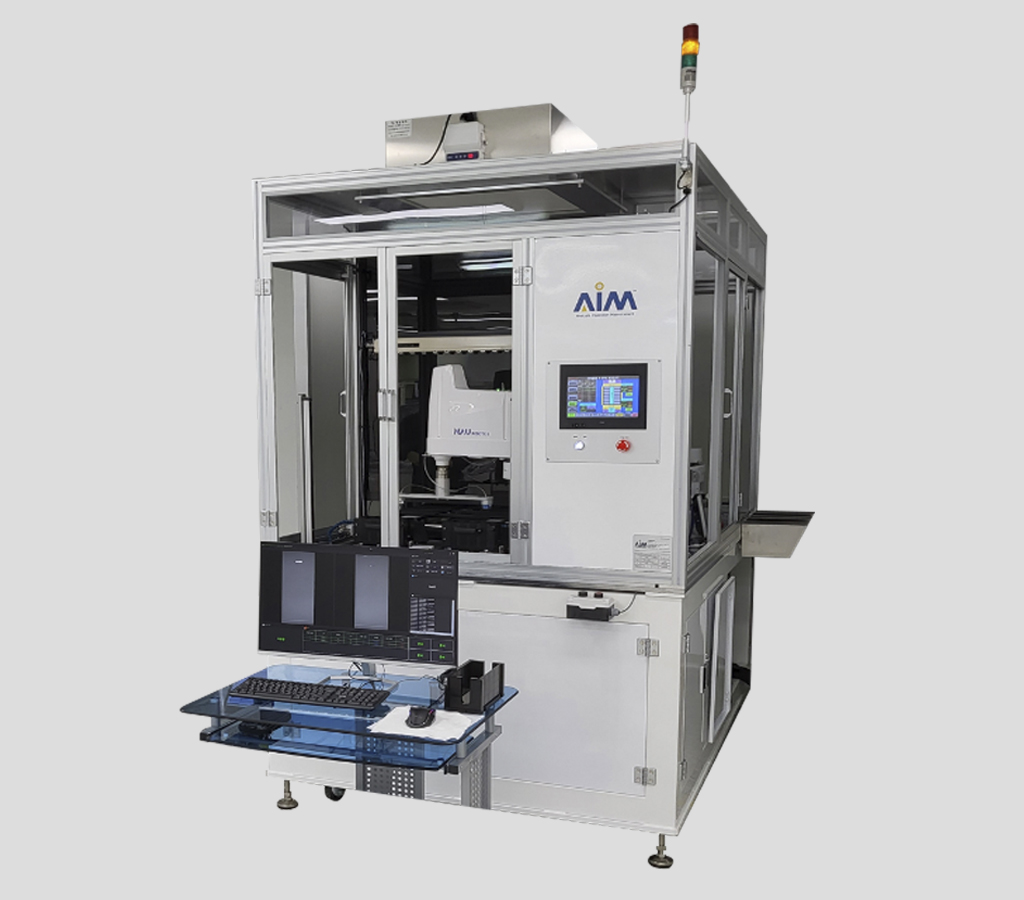
This facility is a 2D vision inspection device that detects poor appearance of mobile liquid crystal films.
A multi-image combination of high-brightness LED autonomous lighting (OEM special optical system) takes one sample eight times,
It generates reflectance, roughness, slope data, etc. using its own image processing algorithm using the photographed image..
A.I Vision System (including Rule Vision) is a system that inspects and classifies defects in appearance through algorithms.
title | content |
Equipment SIZE | 1,600 x 1,800(mm) |
Power | AC 220V, 3P |
pneumatic pressure | Air : 6 kgf/cm² |
a driving device | Servo Motor, Cylinder |
HMI | 7" Proface x 2 EA (pre- and post-equipment deployments) |
Inspection Control | industrial computer |
H/W Control | PLC System |
Emergency | EMO Switch x 3 EA |
Cleaness | Class 1000 (FFU applied) |
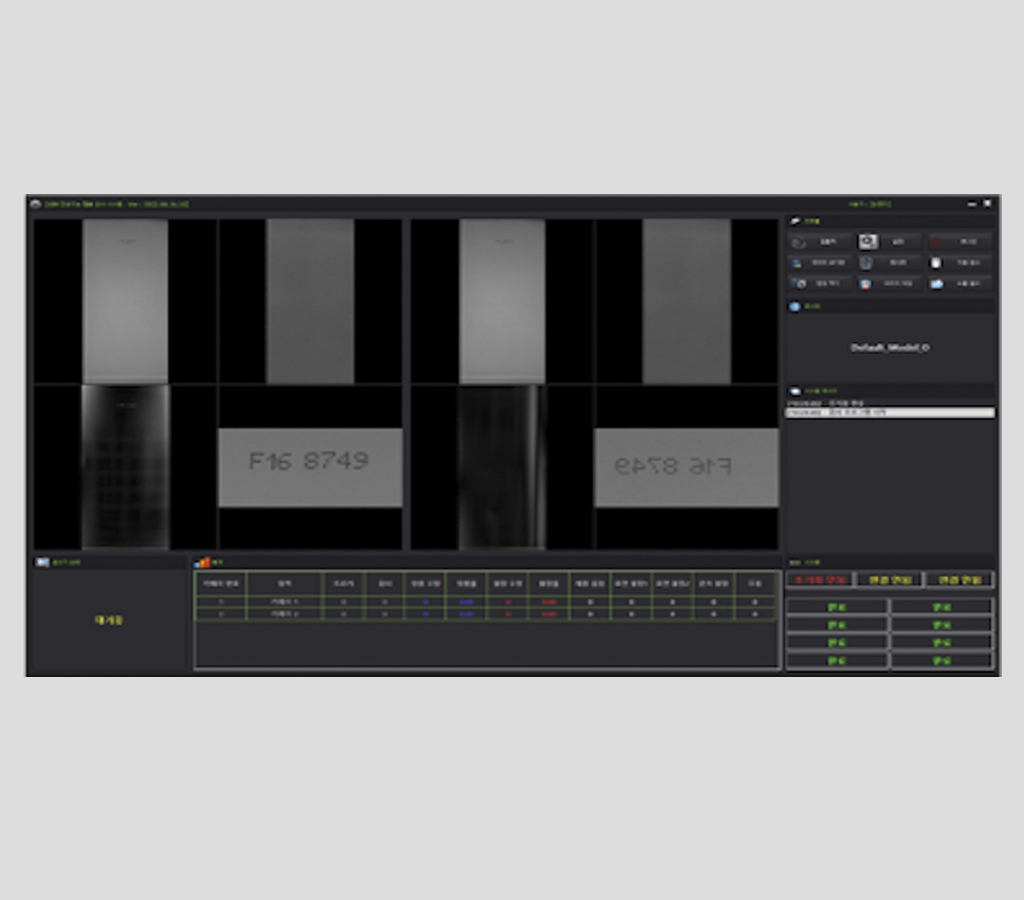
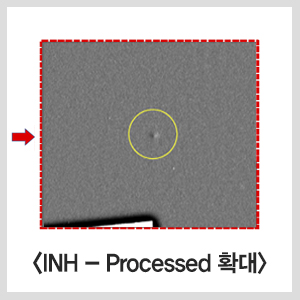
Bad Type Shot Image
• If there is no depth of S/C quantity, quantity can be classified by RG2 image
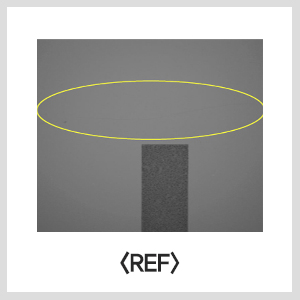
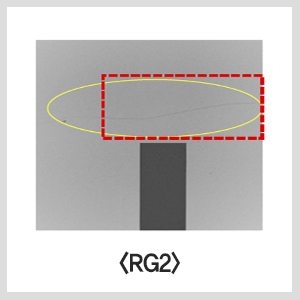
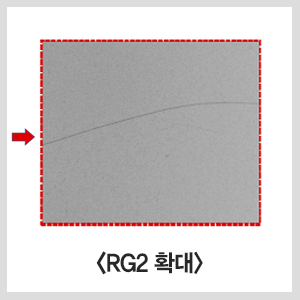
• Raw material bubbles: NH-processed and INV-processed images can be distinguished
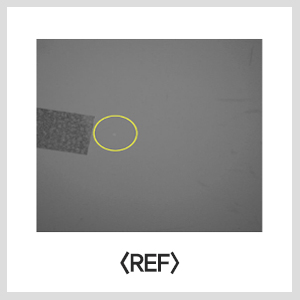
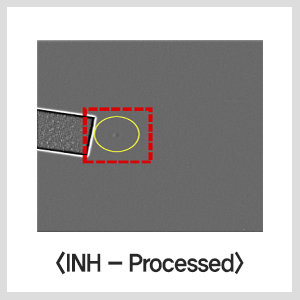
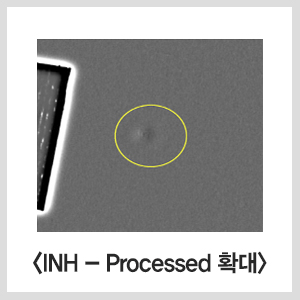
• Line pressed: INH, INV image distinguishable
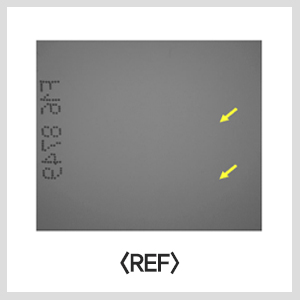
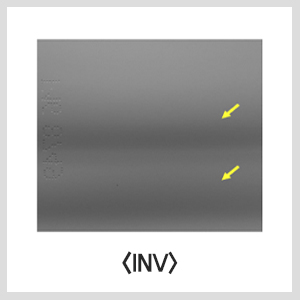
• Spot: RG2 image can be distinguished as defective
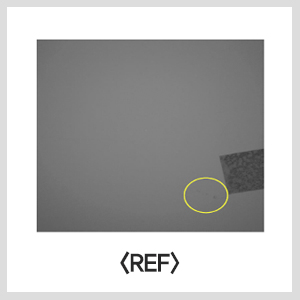
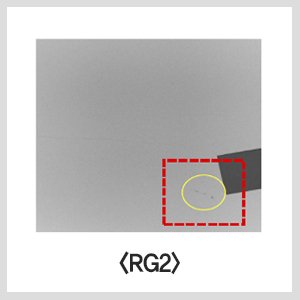
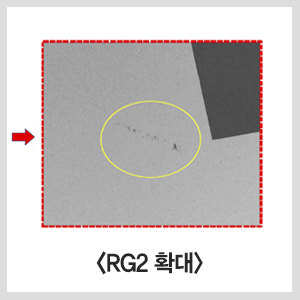
• Raw material foreign matter: Can be classified into INH and INV images
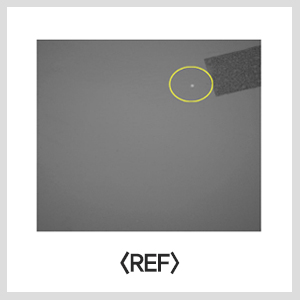
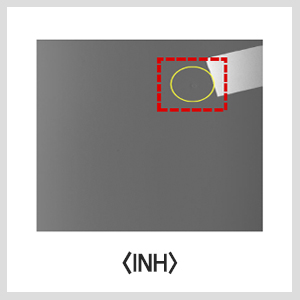
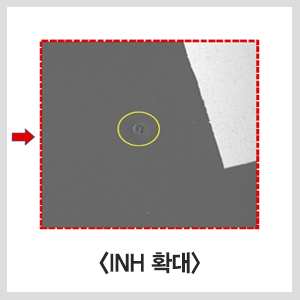
• Photo taken: INH-Processed, INV-Processed image
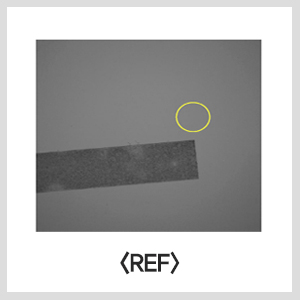
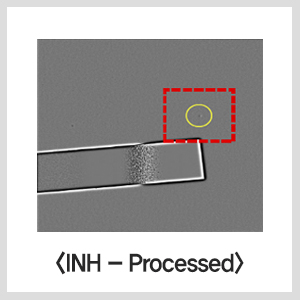
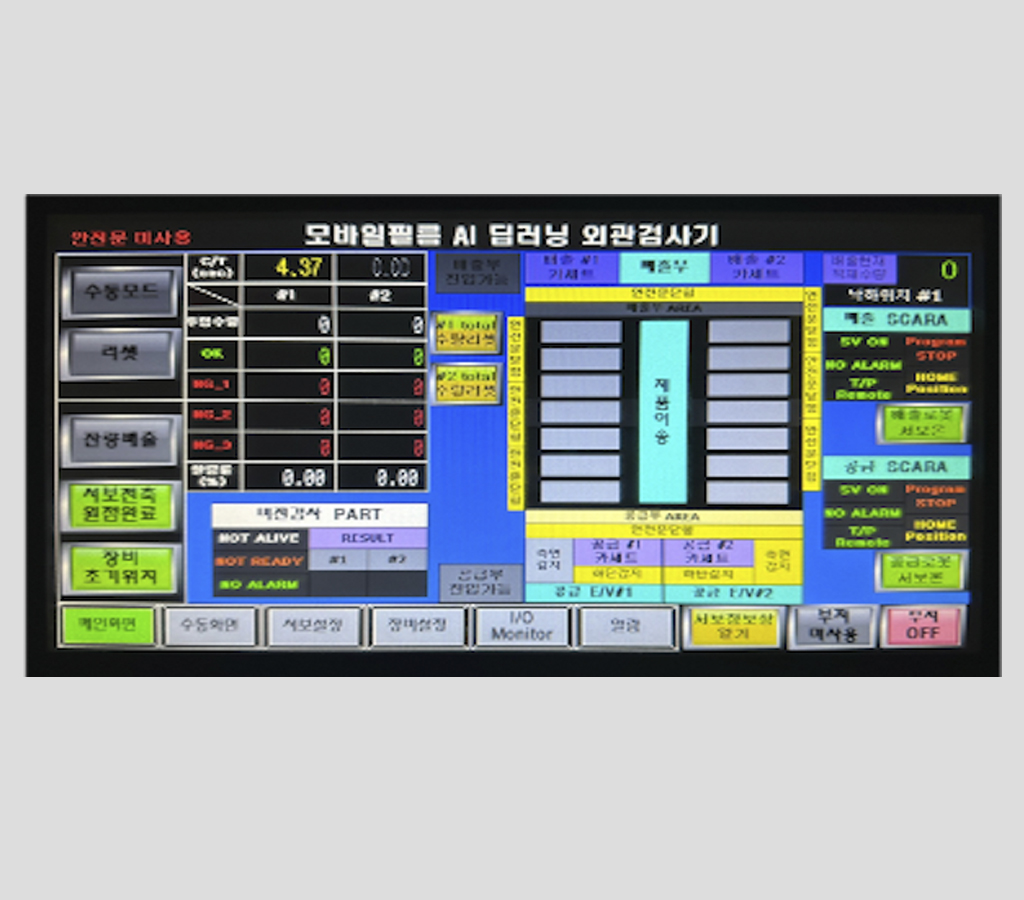
(Examination screen)
(Film Load)
(Film Unload)
Measurement
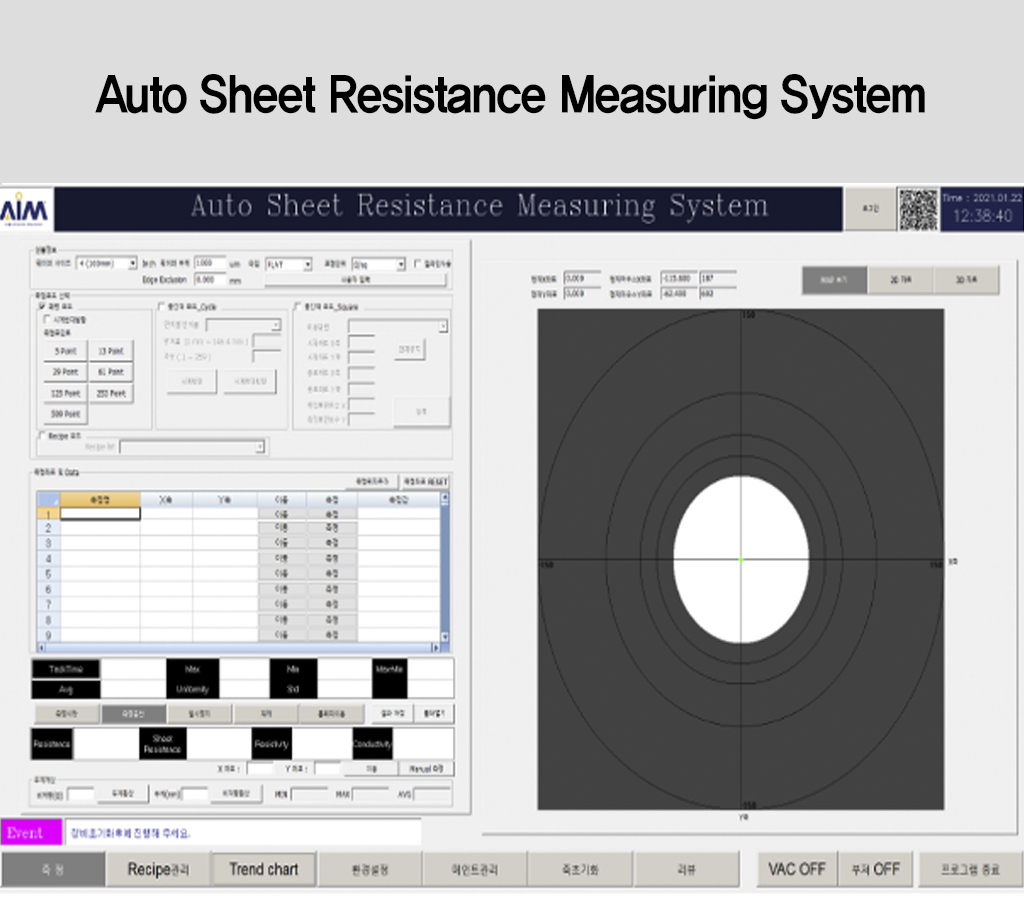
Display to Surface Resistance Measurement
■ Surface resistance, non-resistance measurement
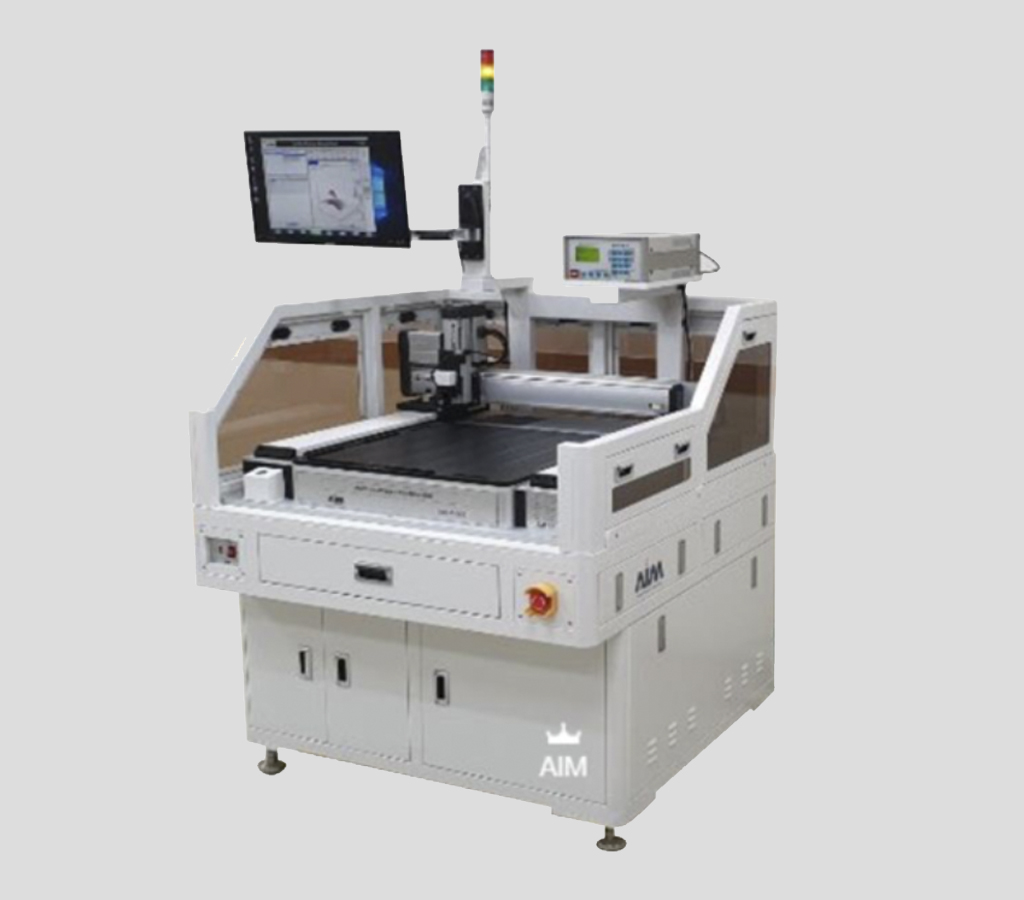
■ Model : AF – 128
• Measure resistance, sheet resistance, non-resistance, conductivity
• Save measurement data (date, sample model, custom selection)
• Repeated measurement for each sample after saving custom points
• Vision Aligner Camera
• Mapping (Display : 1100x1300mm)
• Measurement range 1mΩ/sq. ~ 1GΩ/sq., 10.0 μΩ·cm to 10.0 MΩ·cm
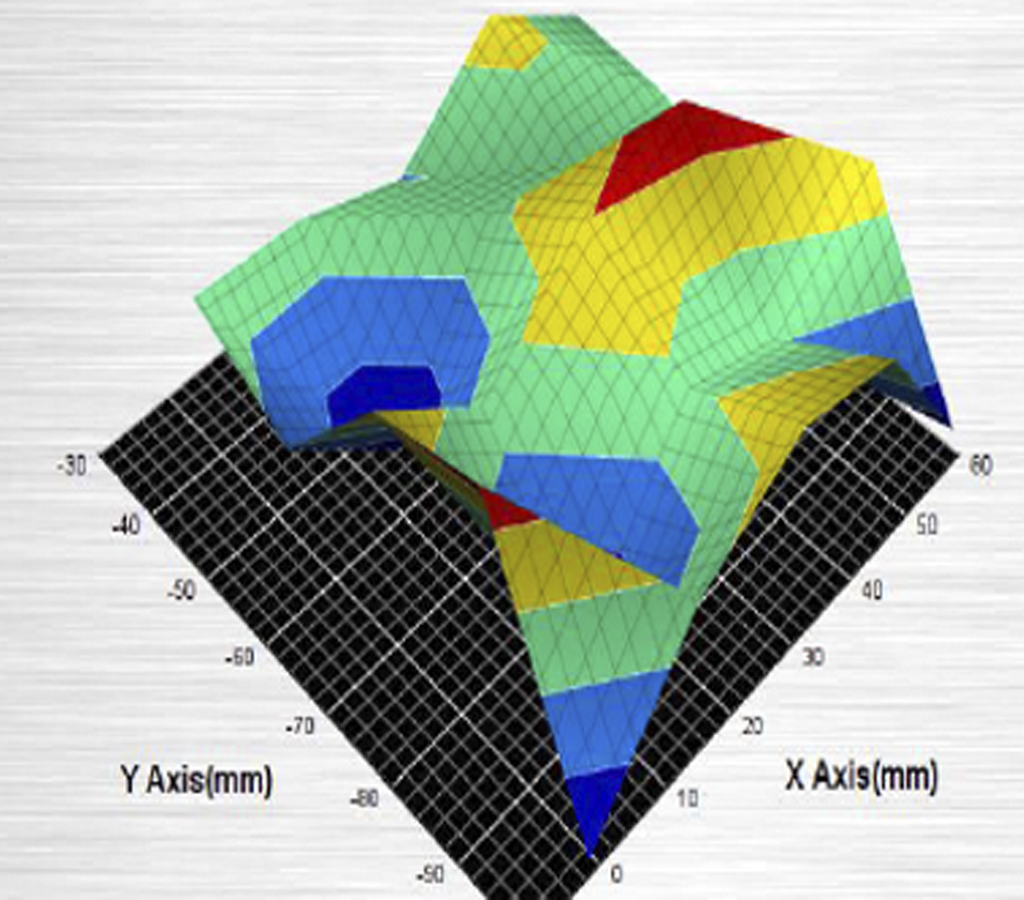
• 2D, 3D Graphic viewer.
• Option: SPC and MES can be linked with internal processes and instruments
